Seeing through metal with sound waves and X-rays

Luz Sotelo, assistant professor of mechanical engineering, has a foot in two worlds. She’s a manufacturing engineer, but she also specializes in nondestructive characterization of materials. “Characterization is so important,” she said. “Material properties are going to have an impact on the part, even on the microstructure level.”
For example, metal additive manufacturing (also known as 3D printing) offers tremendous flexibility and precision, especially to make parts that would be impossible to forge or mold by any other method. “Many of these parts have gaps or spaces in them by design,” she explains. “But other objects have voids as a result of a mistake, or fatigue, or something else. In both instances, you need to be able to ‘see inside’ the piece without physically taking it apart.”
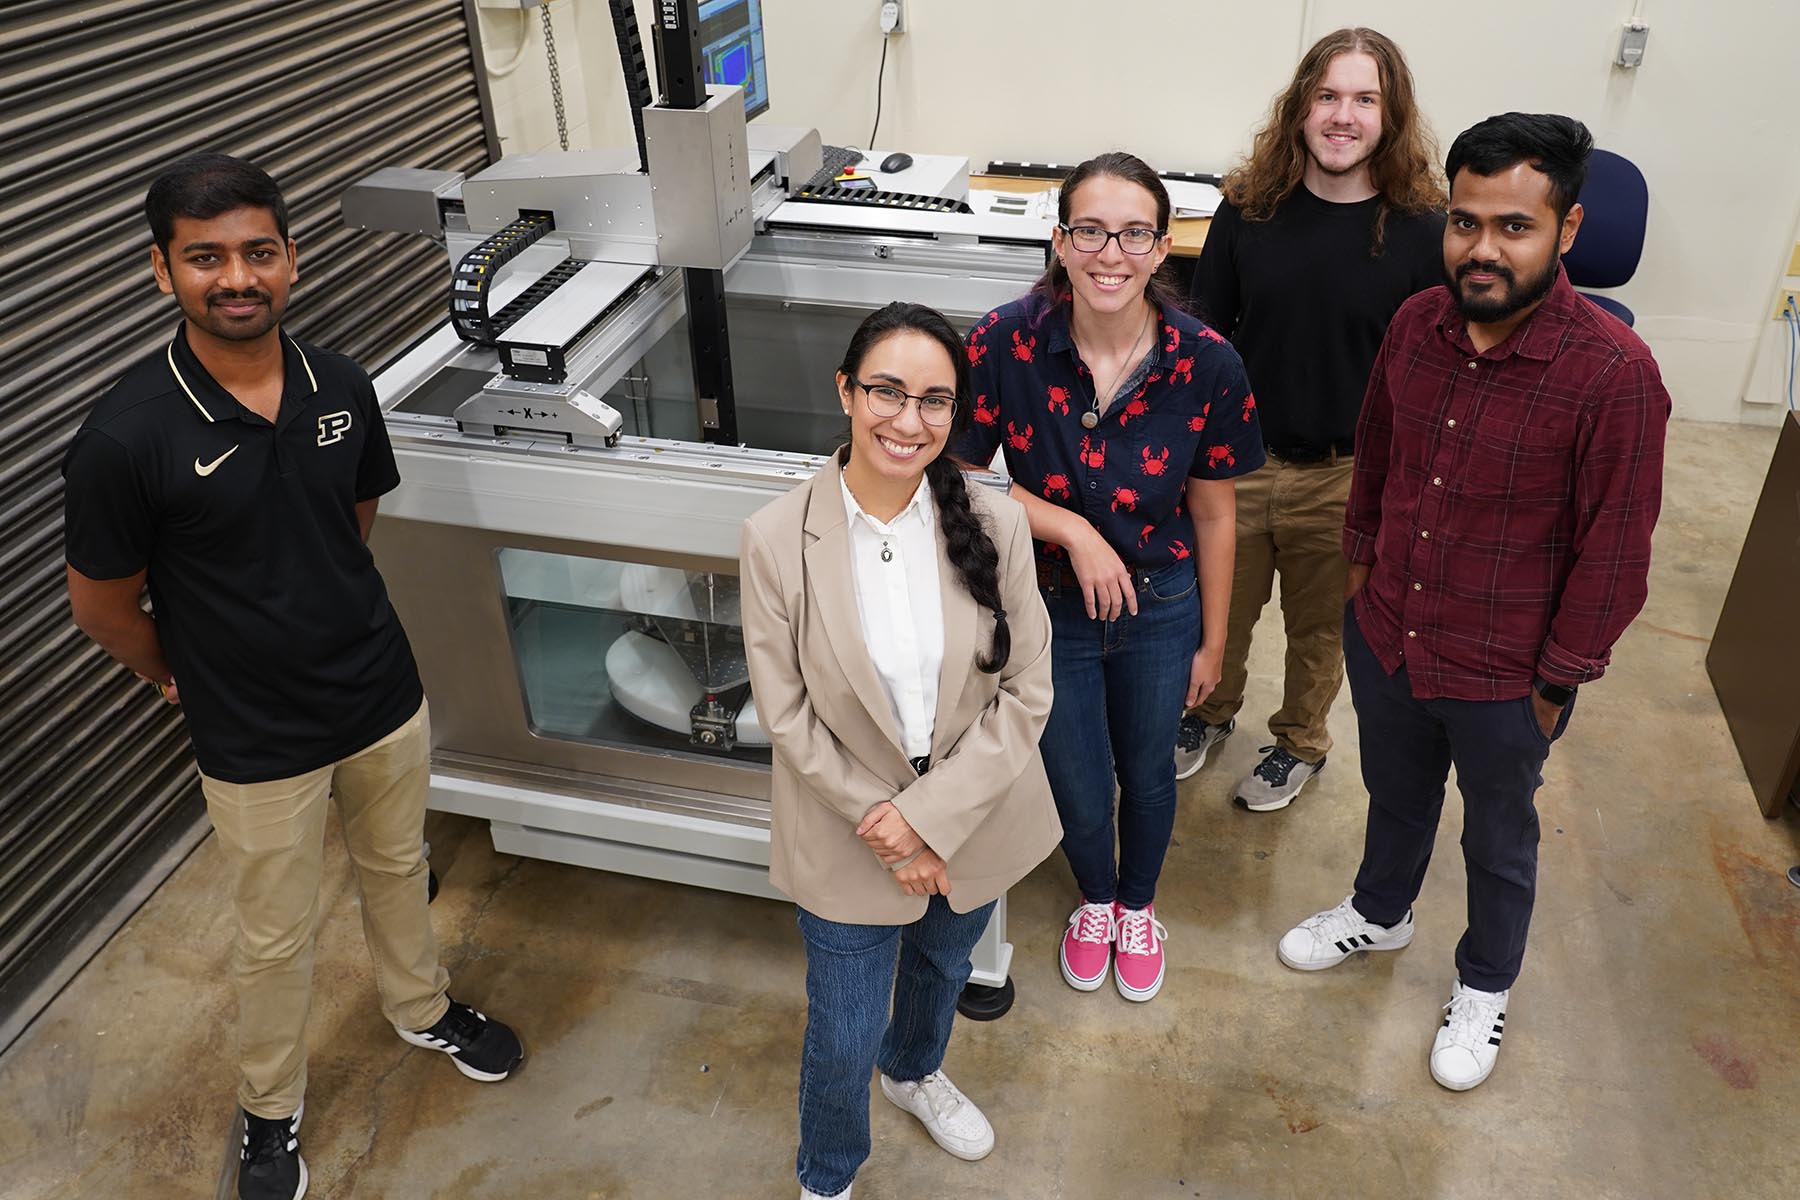
That’s why Sotelo uses sound waves. Her lab hosts a large tank of water with an ultrasonic wave generator and a series of probes and sensors. By sending invisible and inaudible high-frequency sound waves through an object, and sensing the reflection at different heights, her team can calculate the density of a given object and re-create the interior of that object in 3D space. She even has a portable version, which can be used in the field to image parts of large objects like rocket casings or oil pipelines which can’t fit in a tank in her lab.

X-ray vision
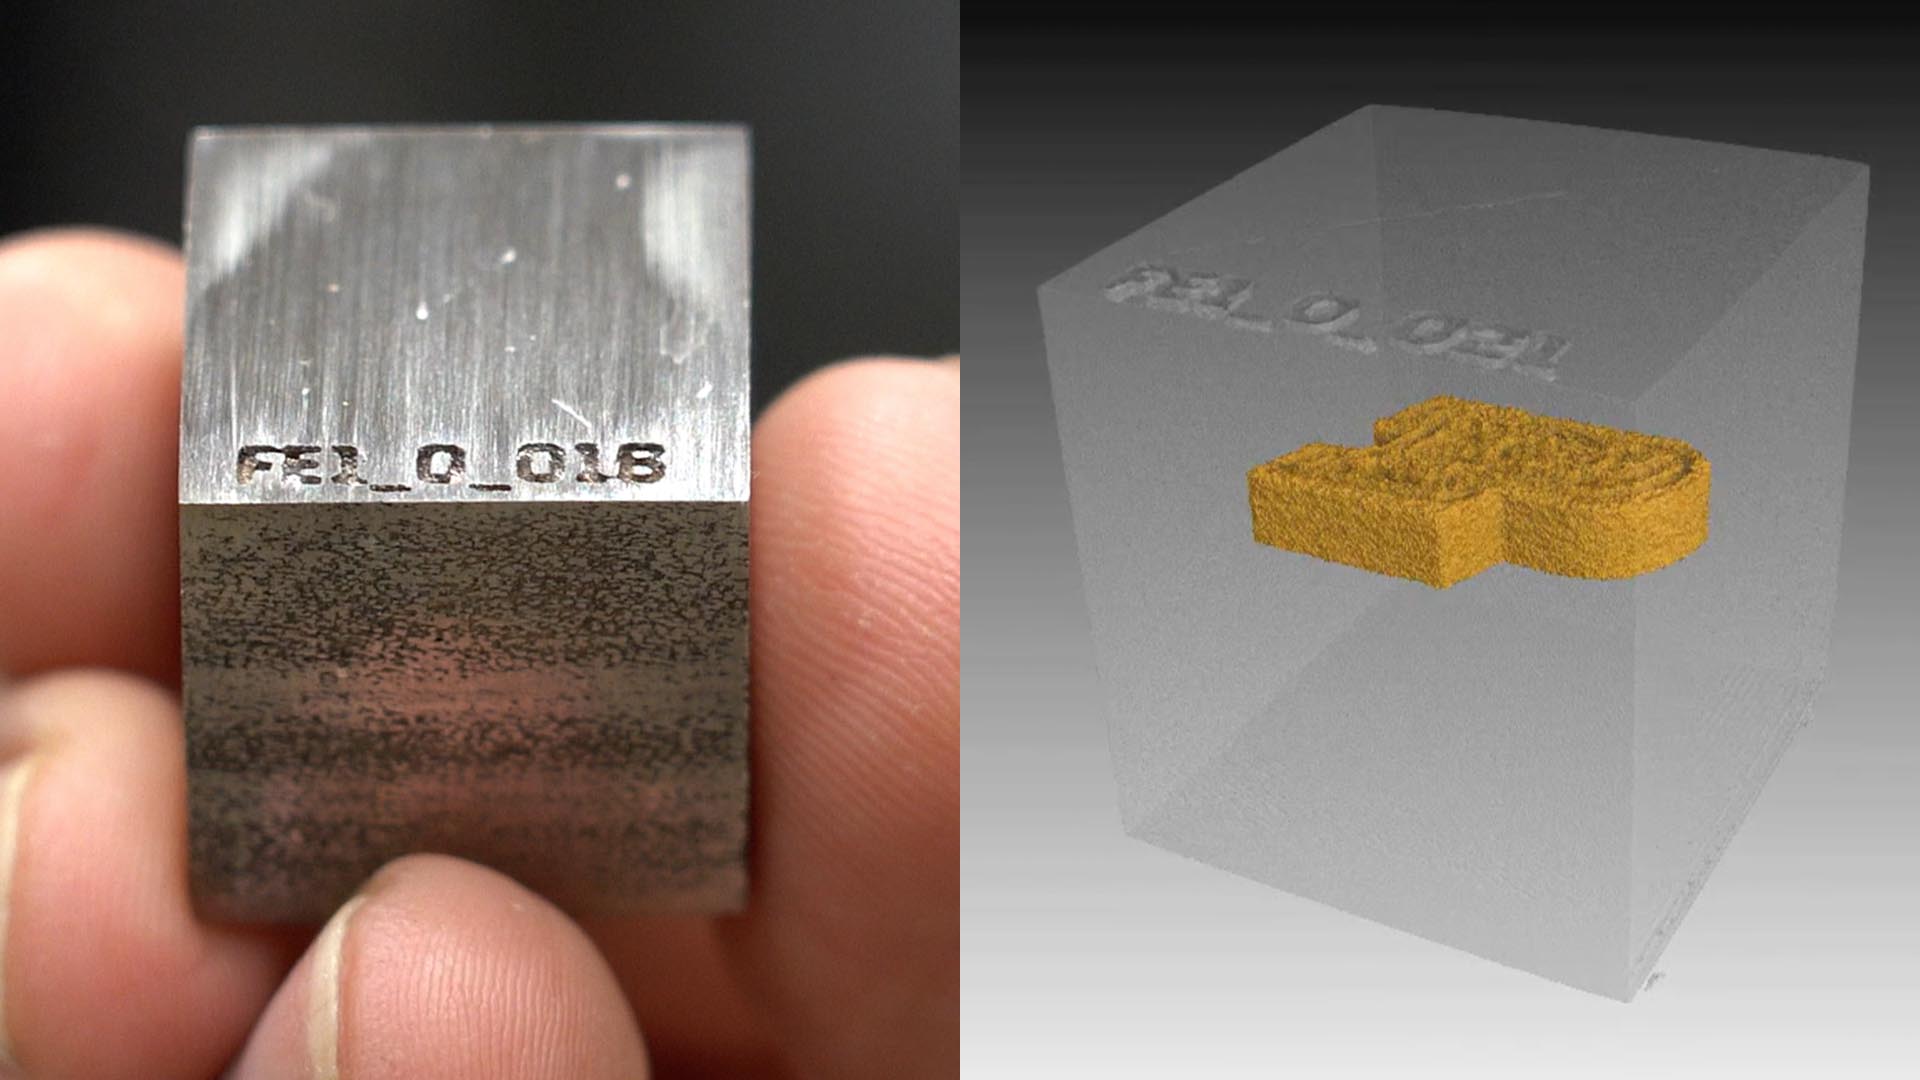
To test her methods, Sotelo took advantage of having access to multiple world-class facilities at Purdue University. She started at the Manufacturing and Materials Research Laboratories (MMRL), which hosts 30,000 square feet of the latest in metal additive manufacturing. She used a Matsuura LUMEX Avance-25 to print a series of small stainless steel cubes, but left an intentional void in the interior where the metal powder remained unmelted.
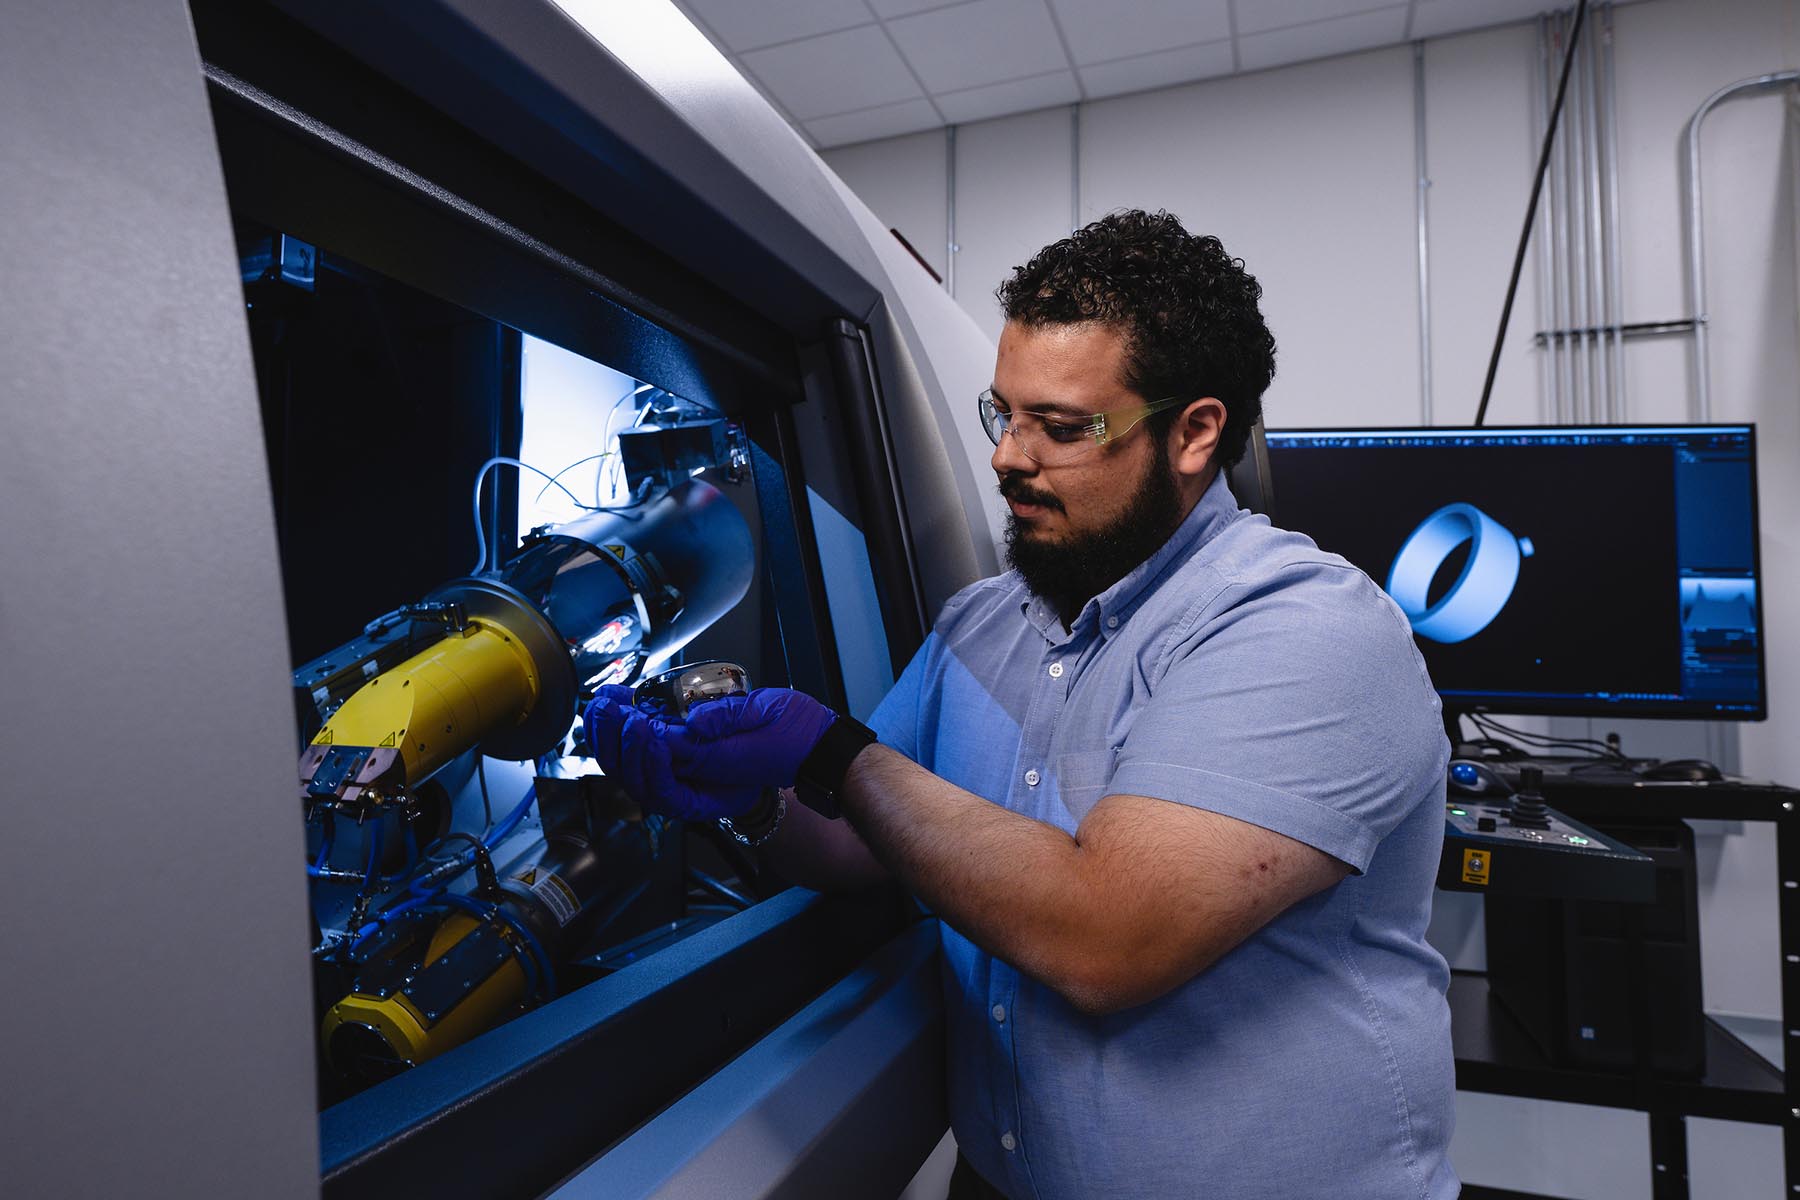
She then took those cubes to the Hypersonics Advanced Manufacturing Technology Center (HAMTC), part of the Purdue Applied Research Institute (PARI). This new center recently opened as part of the $41 million Hypersonics and Applied Research Facility (HARF), and features something you wouldn’t expect at one of the most advanced hypersonics facilities in the world: an x-ray computed tomography (CT) machine.
In their normal use at HAMTC, a CT scan uses X-rays to image the intricate interiors of materials used in the development of hypersonic vehicles. But because of its power and speed, it’s also good for "seeing inside" any kind of object — even a stainless steel cube.
“Our CT can punch through a lot of things to inspect the inside of many materials,” said Julio Hernandez, characterization and research engineer at HAMTC, talking about their Waygate Technologies Phoenix V|tome|x M300. “It can resolve features down to the micron level. And we have amazing software to post-process images and reconstruct the object in 3D.”
 Hernandez scanned the cube, and saw exactly what Sotelo’s ultrasonic probe saw: a void in the middle in the shape of a Purdue “P.”
“This CT is super helpful to my research,” Sotelo said, “because it offers a ground truth that I can use to improve the algorithms and processing behind my ultrasonic imaging. If the HAMTC facility didn’t exist, I would have to ship these samples somewhere to get imaged, which would take a long time.”
The lesson here? Ultrasonic is very flexible, and CT is very powerful. Here at Purdue, researchers have access to both tools for inspection and metrology, and can use the results of one to verify the results of the other.
“It’s great to know that we have two advanced nondestructive characterization capabilities available to us here at Purdue,” Sotelo said.
“We are open for business!” said Hernandez. “HAMTC and MMRL are both brand-new facilities, and we have big machines that labs normally wouldn’t have access to. We are thrilled to support the work of faculty and researchers on campus who normally wouldn’t be able to use metal additive manufacturing, or X-ray CT, or ultrasound characterization — much less all of them on one campus!”

Visit:
- Manufacturing and Materials Research Laboratories (MMRL)
- Hypersonics Advanced Manufacturing Technology Center (HAMTC)
Source: Luz Sotelo, lostelo@purdue.edu ; Julio Hernandez, herna283@purdue.edu
Writer: Jared Pike, jaredpike@purdue.edu, 765-496-0374
