Tutorial: Adding a News Item Using a Template
The following guide uses the assets located at the bottom of this page.
Start / Step 1: Create the Thumbnail
-
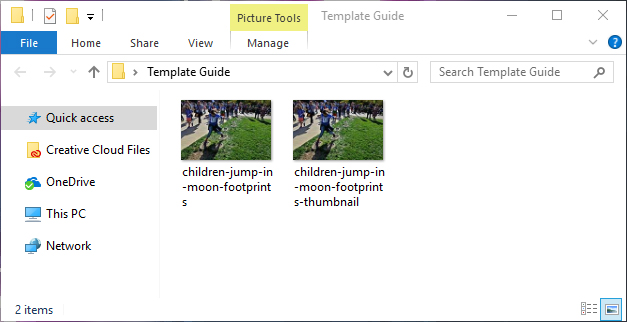
Open the folder containing the image.

-
Create a copy of the image and add “-thumbnail” to the end of the name.
-
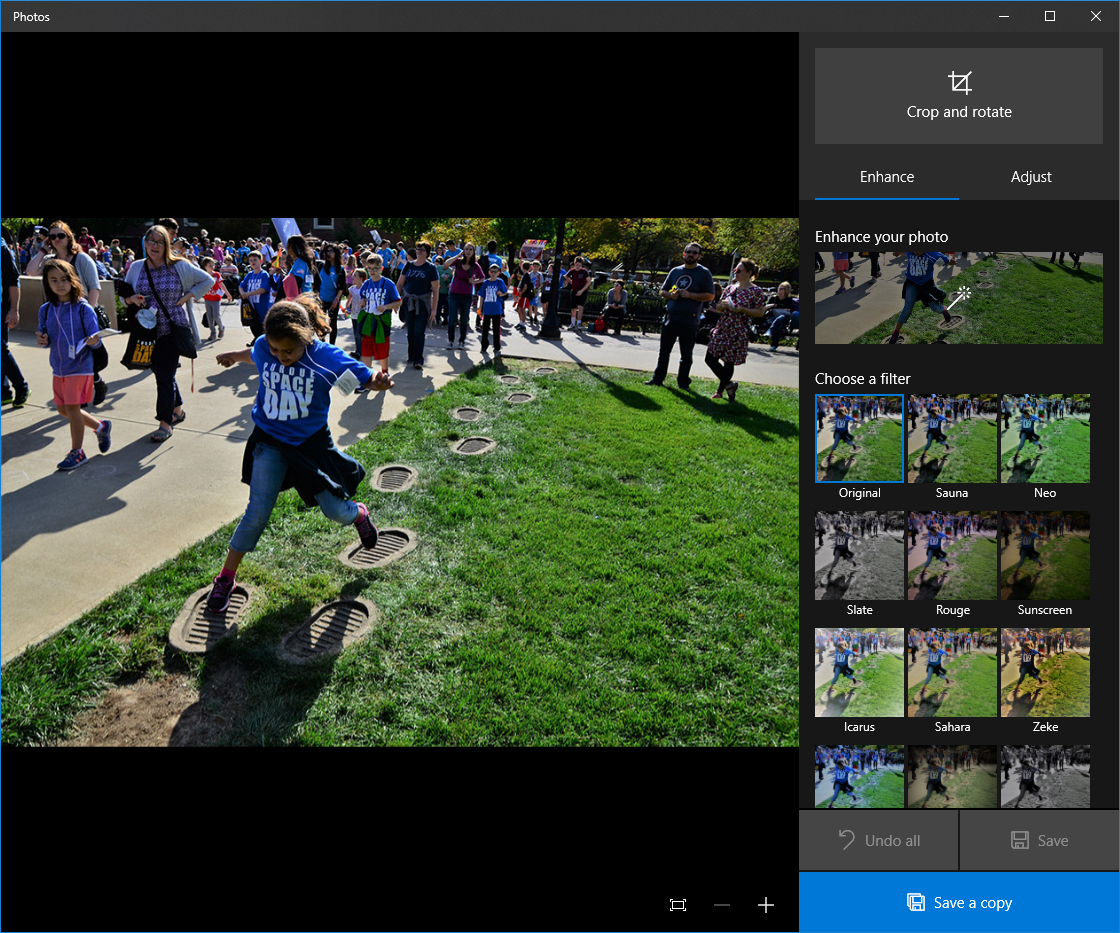
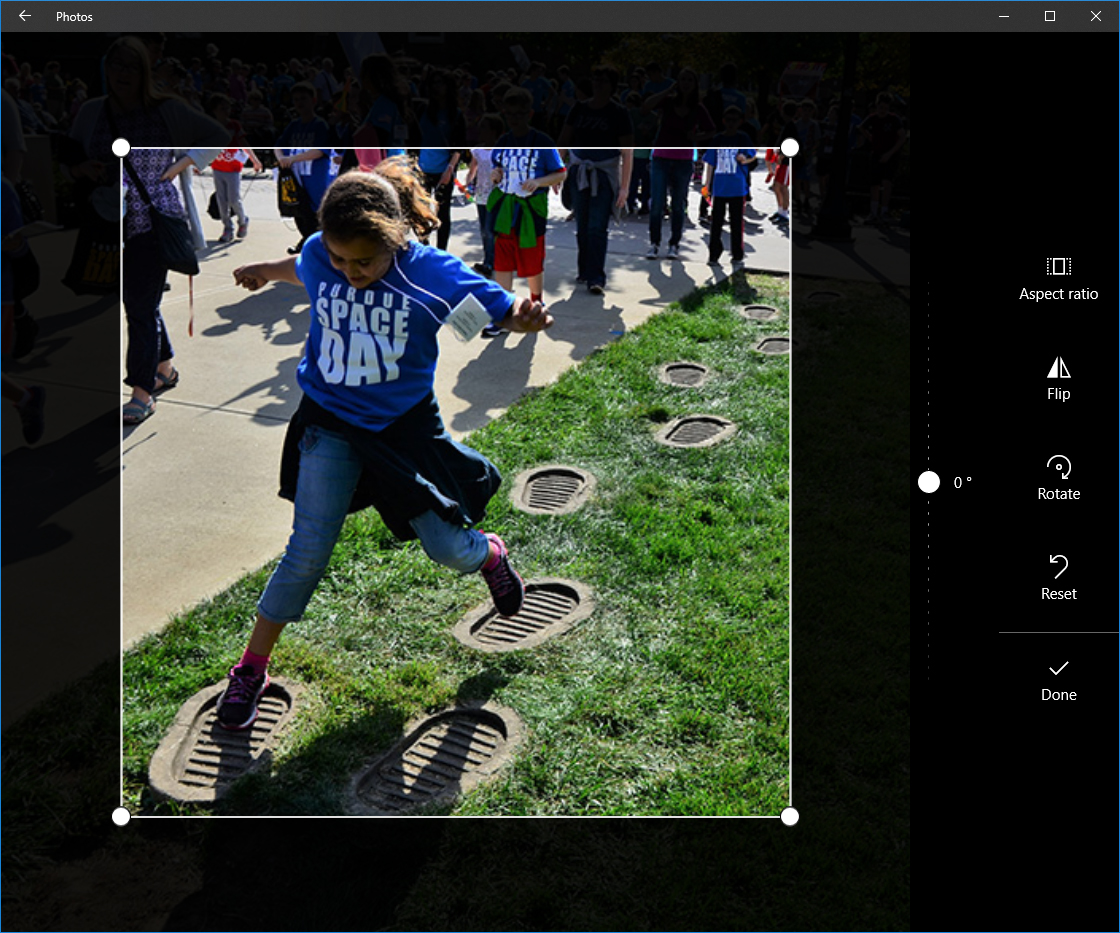
Right click on the thumbnail and then click on Edit with Photos in the drop-down menu.

-
When the Photos window appears, click on the Crop & Rotate button.

-
Click the Aspect Ratio button.
-
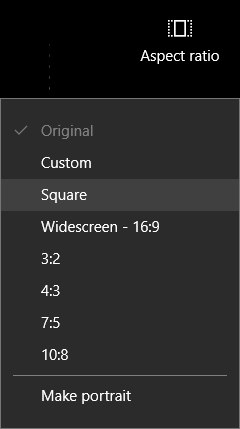
Select Square in the Aspect Ratio drop-down menu.
-
Find a section of the image that is suitable for a thumbnail and then click the Done button.
-
Click the Save button.

Continue / Step 2: Copy the Template
-
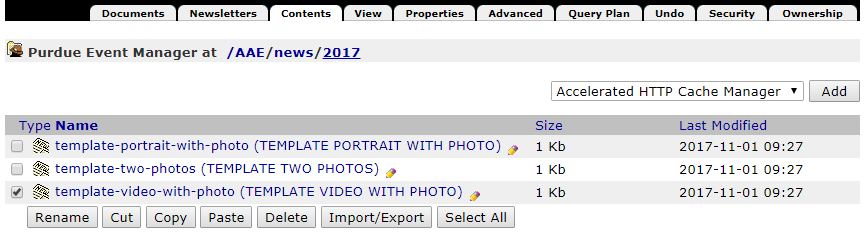
Select a template that you want to copy.
-
Click the Copy button.

-
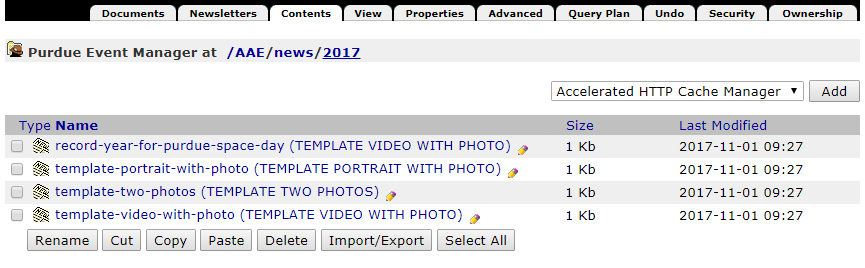
Wait for the page to reload and then click the Paste button.

-
Wait for the page to reload and then select the newly created copy.

-
Click the Rename button.

-
Wait for the page to reload and then highlight the name of the document.

-
Rename the document, adhering to the strict “word-word-word-...” format and all other best practices for SEO and ADA.

-
Click the Ok button.

Continue / Step 3: Upload the Images
-
Click on the renamed document.
-
Click the Add an Image button.

-
When the Add an Image section appears, click the Choose File button.


-
When the browser’s Open File window appears, select the thumbnail.
-
Click the Open button.

-
In the same Add an Image section, click to un-check the Display when viewing box.
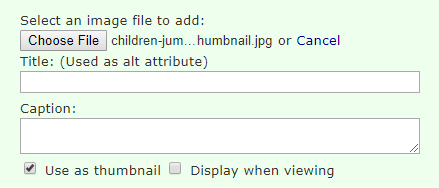
-
Click the Add an Image button.
-
When the Add an Image section appears, click the Choose File button.
-
When the browser’s Open File window appears, select the full image.
-
Click the Open button.
-
In the same Add an Image section, click to un-check the Use as thumbnail and Display when viewing box.

-
Click the Save Changes button.
Continue / Step 4: Add the Content
-
Highlight the text for the Title / Headline.

-
Rename the Title / Headline.

-
Highlight the text for the Intro.

-
Rename the Intro.
(Remember, the intro should not be repeated in the body.)
-
Right click on the iframe and then click on IFrame Properties in the drop-down menu.
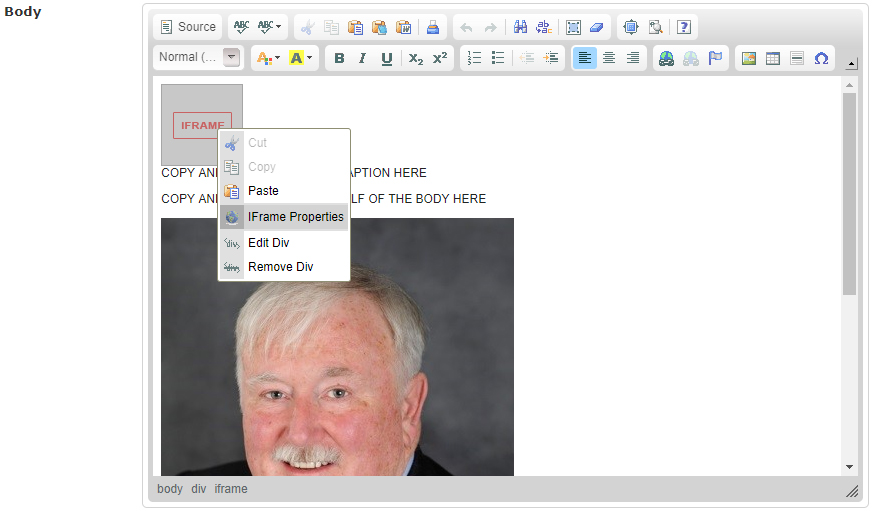
-
When the iFrame Properties window appears, highlight the YouTube ID in the URL.

-
Replace the YouTube ID in the URL.
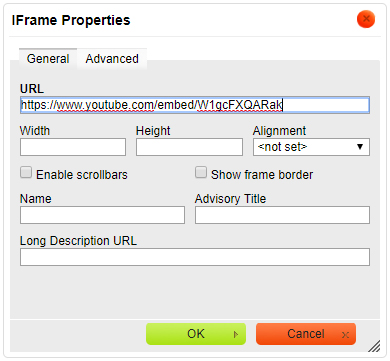
-
Click the OK button.

-
Highlight the text for the video caption.

-
Click the Paste from Word button.

-
Paste the text for the video caption in the Paste window.
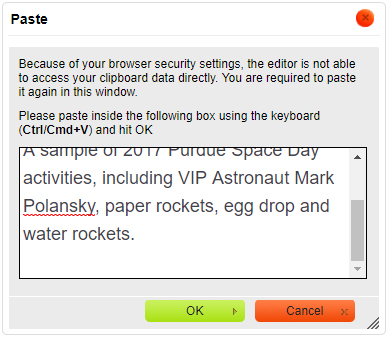
-
Click the OK button.
-
Highlight the text for the first half of the body.
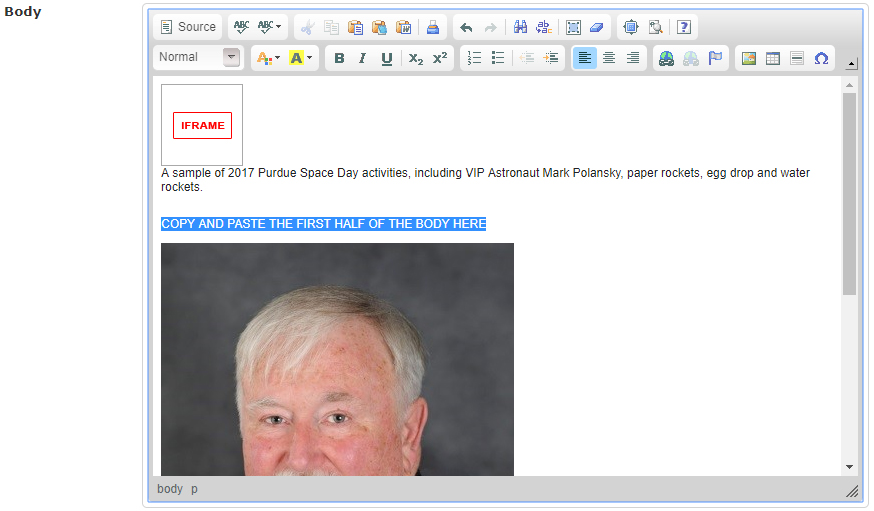
-
Click the Paste from Word button.
-
Paste the text for the first half of the body in the Paste window.
-
Click the OK button.
-
Right click on the image and then click on Image Properties in the drop-down menu.

-
When the Image Properties window appears, click the Browse Server button.

-
When the Browse Server window appears, select the replacement image.

-
Click the Select button.

-
When the Image Properties window appears, clear the Width and Height.
-
Click the Ok button.
-
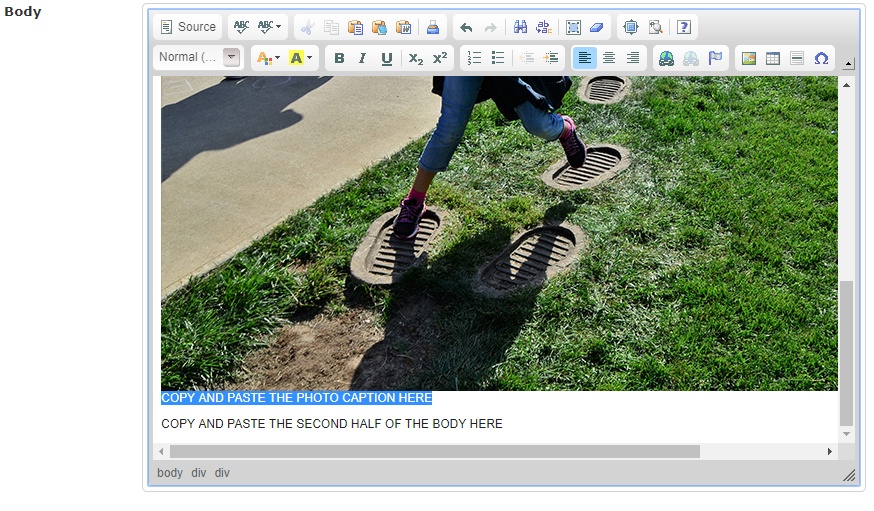
Highlight the text for photo caption.
-
Click the Paste from Word button.
-
Paste the text for the photo caption in the Paste window.
-
Click the OK button.
-
Highlight the text for the second half of the body.

-
Click the Paste from Word button.
-
Paste the text for the second half of the body in the Paste window.

-
Click the OK button.
-
Click the Save Changes button.
End / Step 5: View and Publish
-
Click the View tab in Zope.

-
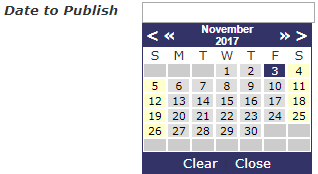
If there are no changes needed, click inside of the Date to Publish box to view a calendar.
-
Click on today’s date in the calendar.


-
Click the Save Changes button.
Assets Used in this Tutorial
Title / Headline
Record year for Purdue Space Day
Body
Purdue Space Day 2017 attracted a record number of children for the annual event. More than 700 participants in grades 3-8 had the opportunity to learn about STEM with the help of more than 300 Purdue student volunteers.
This year’s theme, “A New Space for All Mankind,” means that the future of STEM and space exploration is for everyone, regardless of gender, race, culture or social status.
An Executive Board of Purdue students spend a year planning the event. The directors of this year’s Board were Sam Evani (a senior in AAE) and Nicole McMindes (a senior in mechanical engineering).
The Indiana Space Grant Consortium and the School of Aeronautics and Astronautics support Purdue Space Day as well as corporate sponsors Boeing and Raytheon.
Purdue Space Day began more than 20 years ago on November 9, 1996, with around 120 grade school children participating. Since then, more than 8,700 grade school students have participated in the one-day event.
YouTube Video
YouTube Video Caption
A sample of 2017 Purdue Space Day activities, including VIP Astronaut Mark Polansky, paper rockets, egg drop and water rockets.
Image
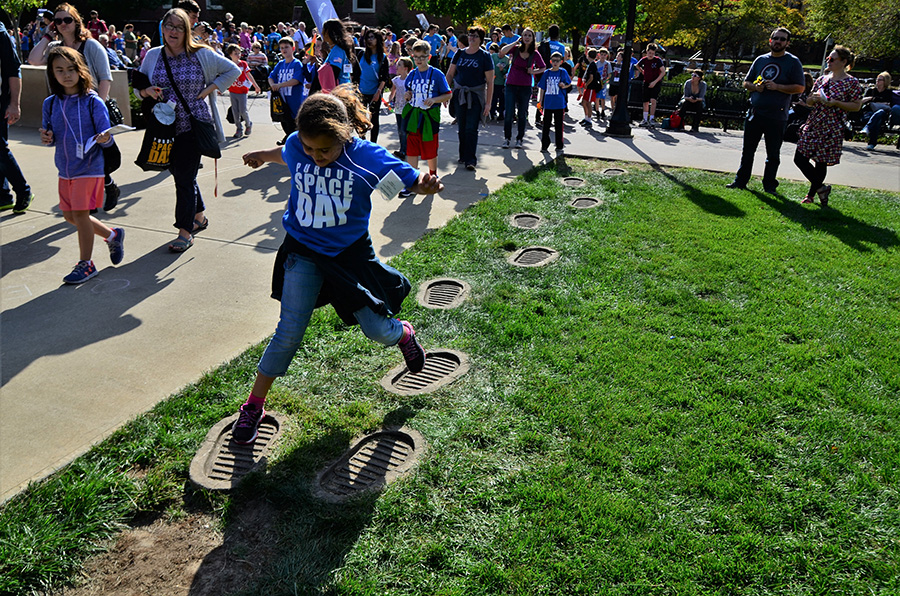
Image Caption
A child jumps from one moon footprint to another.