Tutorial: Adding a News Item Using a Redirect
The following guide uses the assets located at the bottom of this page.
Start / Step 1: Create the Thumbnail
-
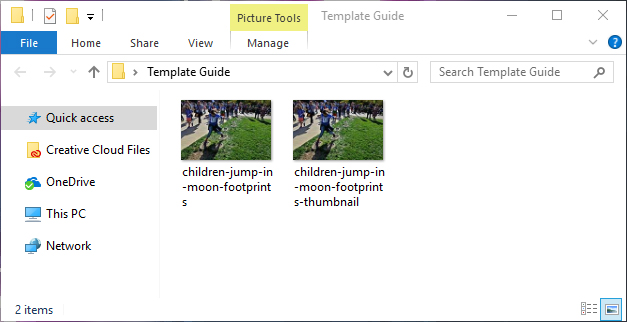
Open the folder containing the image.

-
Create a copy of the image and add “-thumbnail” to the end of the name.
-
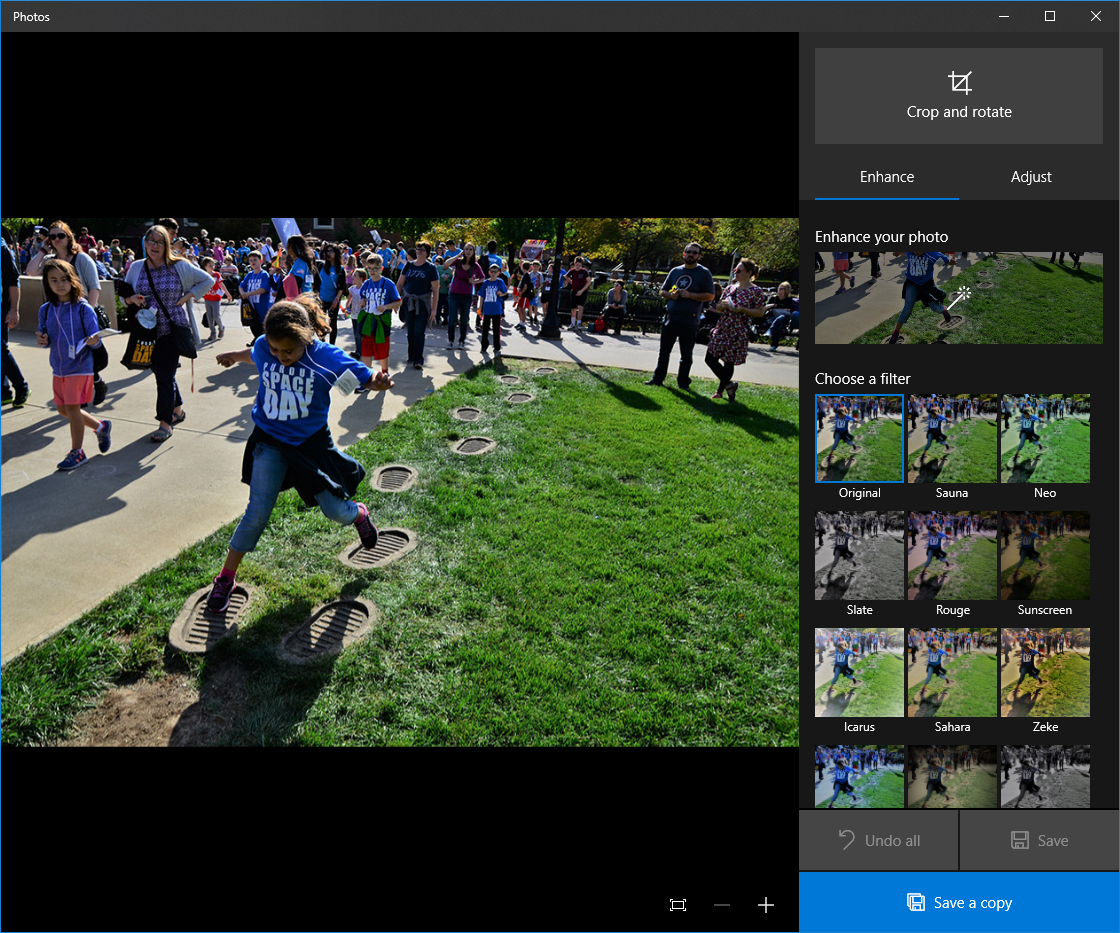
Right click on the thumbnail and then click on Edit with Photos in the drop-down menu.

-
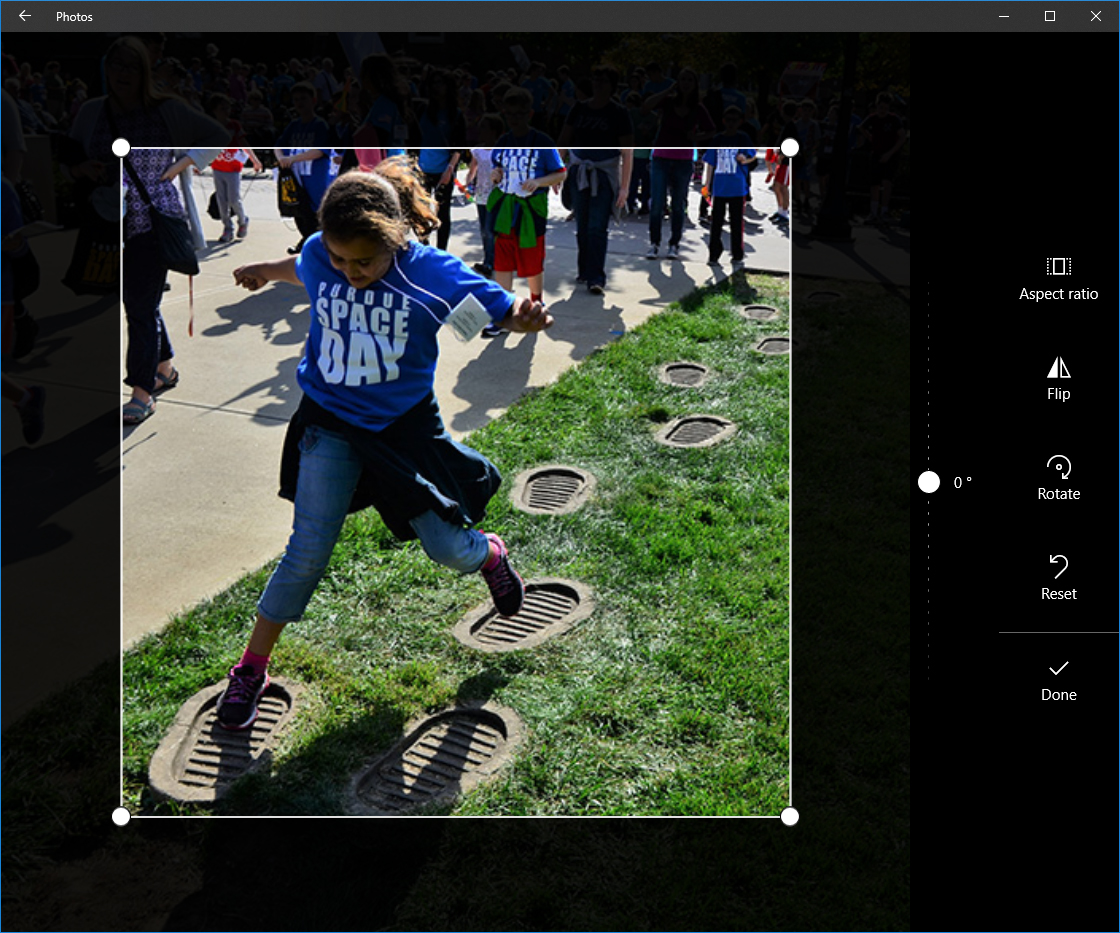
When the Photos window appears, click on the Crop & Rotate button.

-
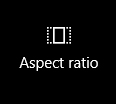
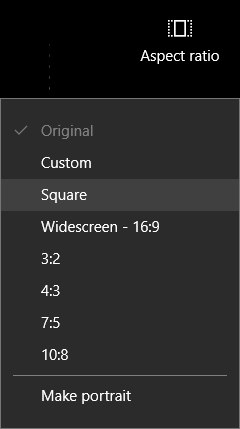
Click the Aspect Ratio button.
-
Select Square in the Aspect Ratio drop-down menu.
-
Find a section of the image that is suitable for a thumbnail and then click the Done button.
-
Click the Save button.

Continue / Step 2: Create the News Item
-
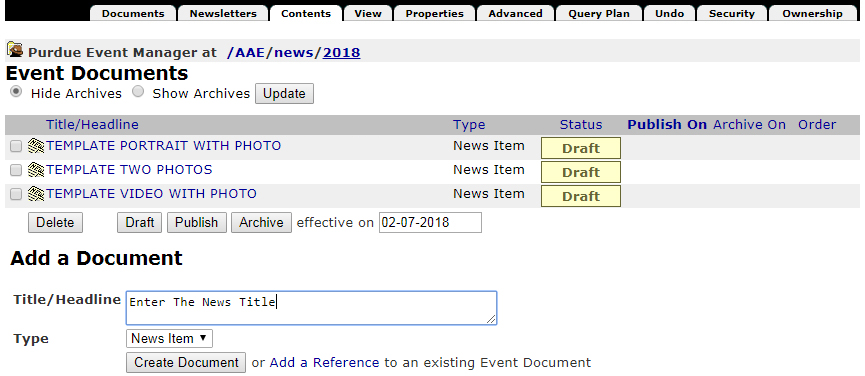
Enter the title for your news item.
-
Click the Create Document button.
Continue / Step 3: Upload the Thumbnail
-
Click the Add an Image button.
-
When the Add an Image section appears, click the Choose File button.


-
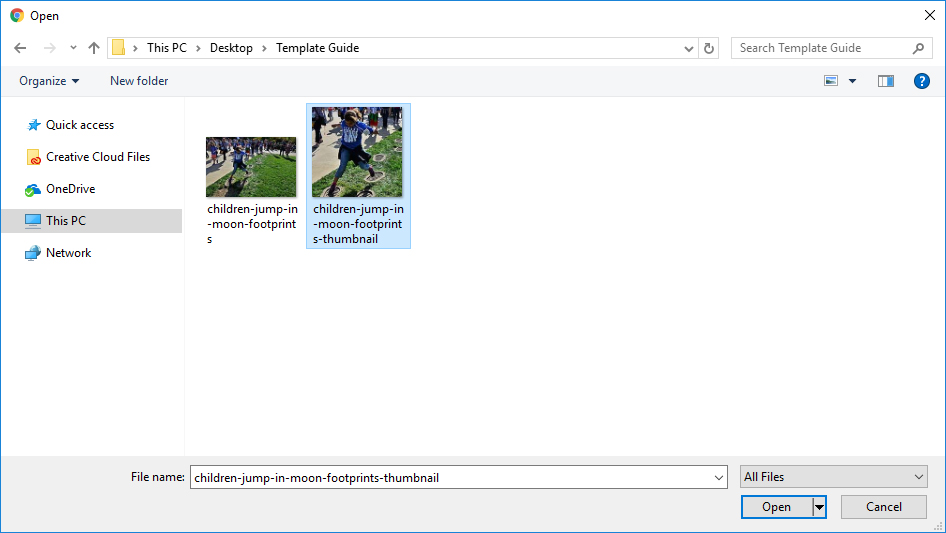
When the browser’s Open File window appears, select the thumbnail.
-
Click the Open button.

-
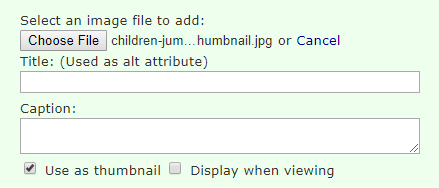
In the same Add an Image section, click to un-check the Display when viewing box.
-
Click the Save Changes button.
Continue / Step 4: Add the Content
-
Add a redirect URL.

-
Add an intro.

-
Click the Save Changes button.
End / Step 5: View and Publish
-
Click the View tab in Zope.

-
If there are no changes needed, click inside of the Date to Publish box to view a calendar.
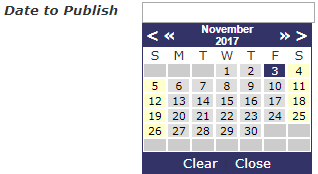
-
Click on today’s date in the calendar.


-
Click the Save Changes button.
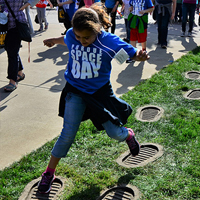
Assets Used in this Tutorial
Thumbnail