The content of this document may be incorrect or outdated.
Print this article Edit this article
Printing: Job Accounting for Toshiba Printers in MacOS X
Mac OS X users who need to print to Toshiba network printers on which job accounting is enabled should follow these instructions to pre-program the printer driver software. Job accounting is the feature that requires you to use a special numeric code (typically four or five digits) to gain authorized access to the printer.
These instructions assume that you have already successfully installed driver software for a specific Toshiba network printer.
If more than one person logs into the same Macintosh, each person will need to follow these instructions independently. The "job accounting enabled" preset described below is stored separately in each user's profile.
(These steps were created and tested under Mac OS X 10.12.6, using Safari and the print driver software for a Toshiba e-STUDIO 7506AC-series printer. The illustrations below may differ from what you see on your computer.)
Enter the print dialog.
Launch any application (such as Safari or Microsoft Word), click on the File menu, and select "Print."
Expand the window to see the options.
If necessary(if this is your print dialog view), click on the "Show Details" second from the left button on the bottom of the dialog box to expand the window to show all options.
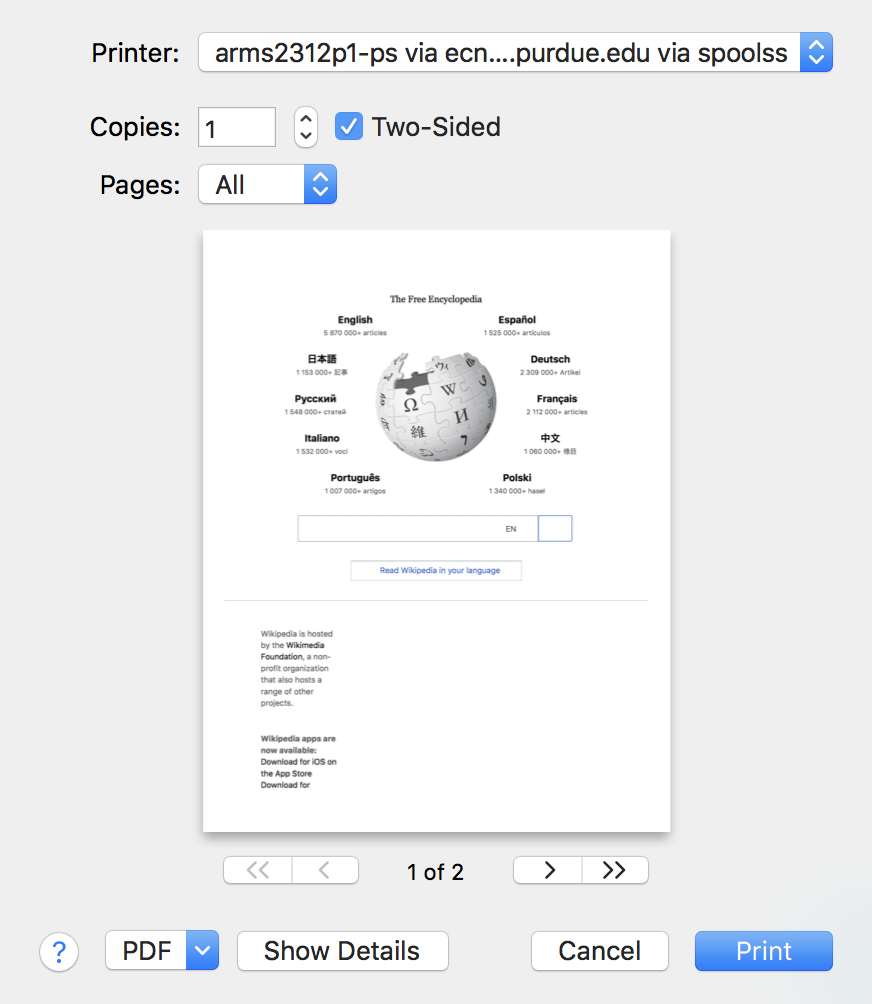
Once completed, your dialog box should look more like this:
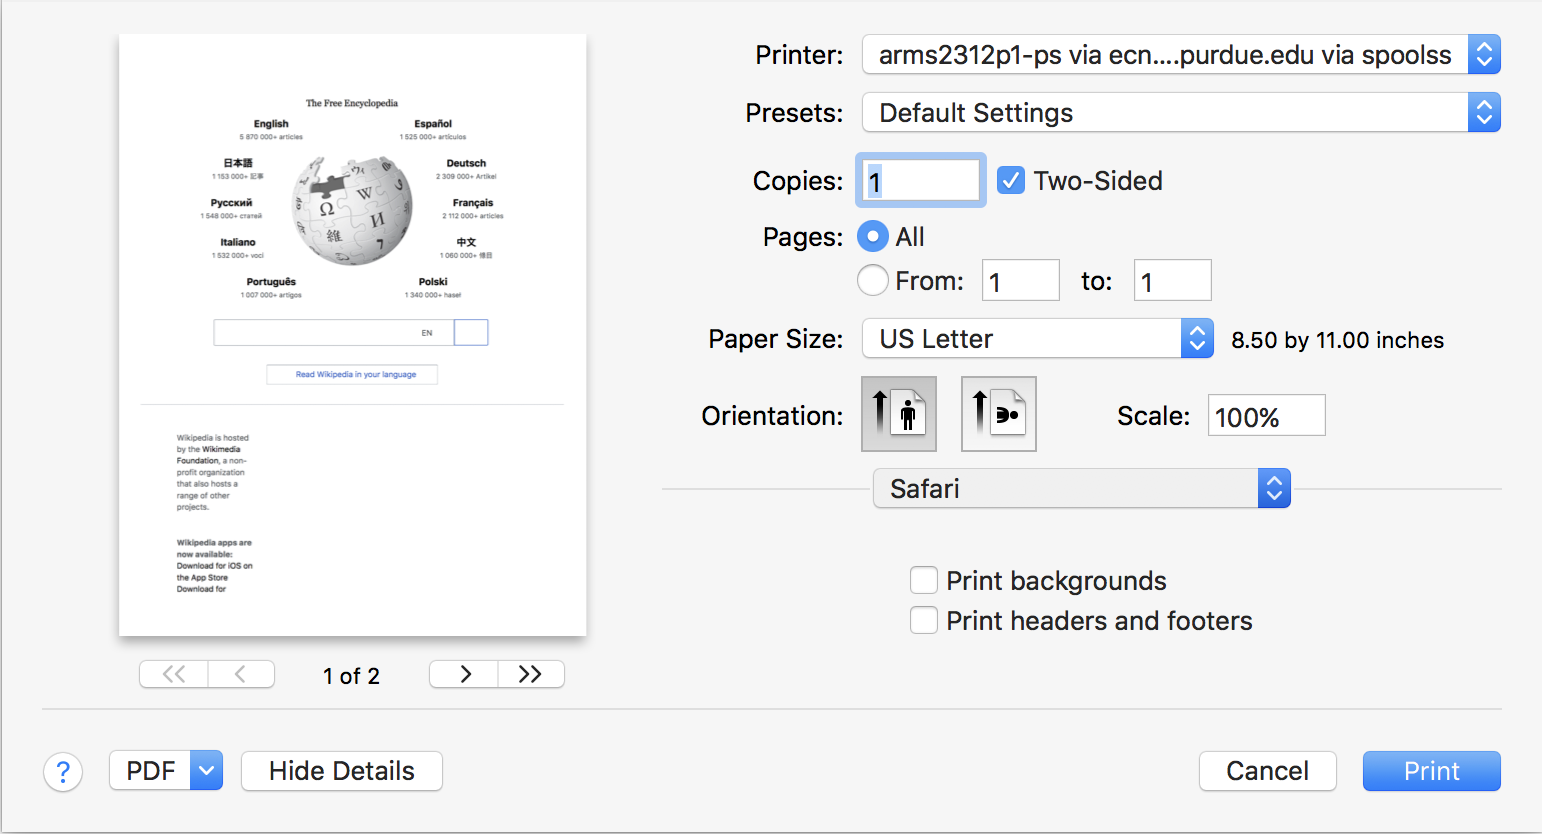
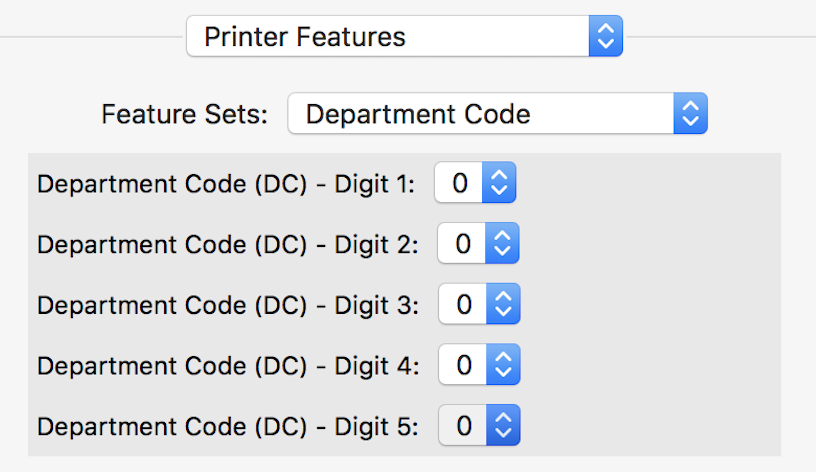
The printer features options.
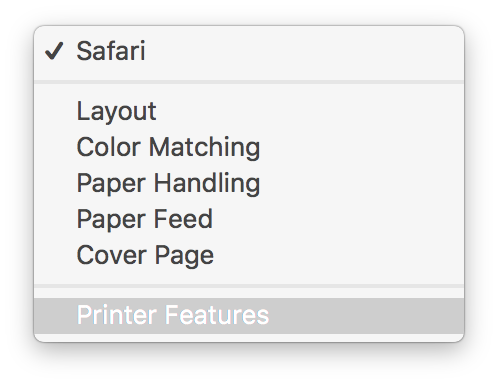
In the "Safari" pop-up menu, select "Printer Features"
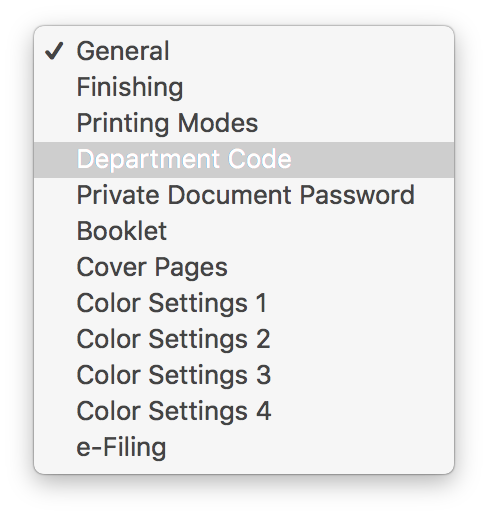
Department code.
From the Printer features menu select "Department Code".
Then enter your printing code into the fields provided. Note: If you have five digits in your department code enter them all if, four digits ignore the first digit field and fill in the 2-5 digits.
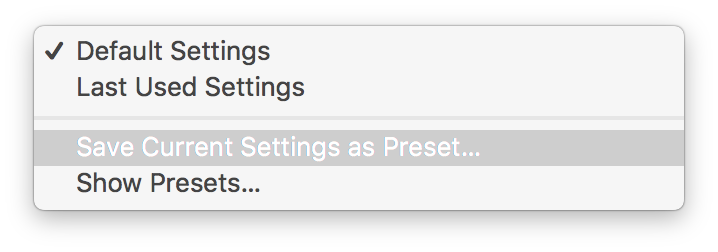
Presets.
From the "Presets" menu, select "Save Current Settings as Preset."
Save the presets with a name such as "Department Code"
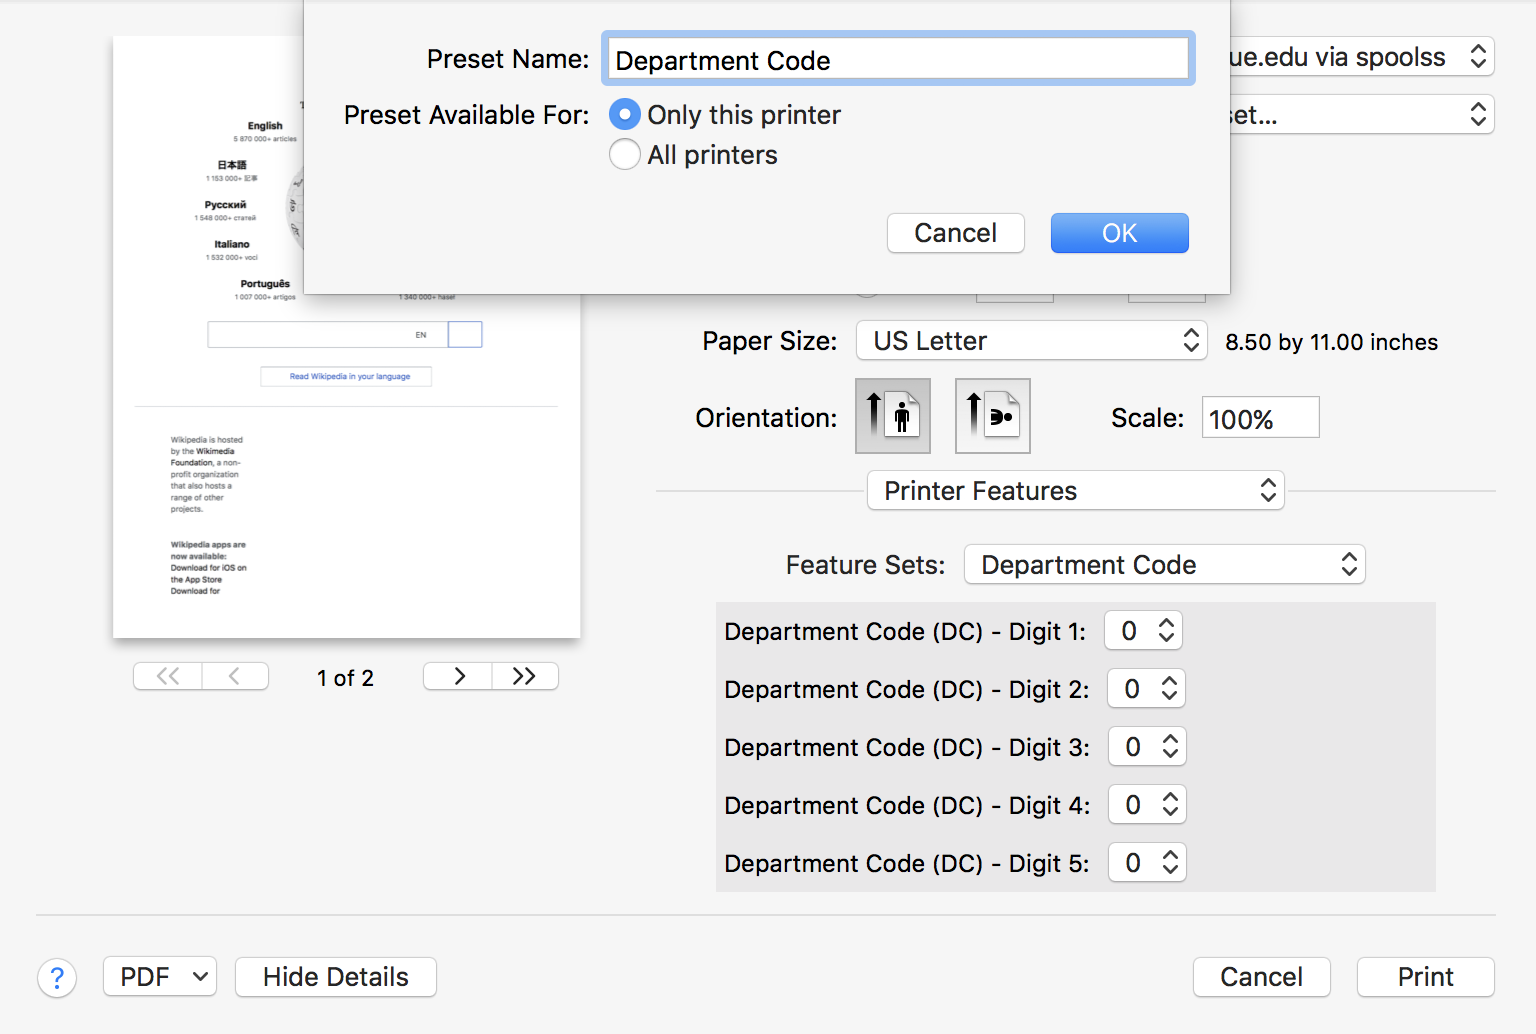
Using the "Department Code" preset.
Now, when printing from any application, you need only to make sure the "presets" pop-up menu is set to "Department Code" When you print, your code will be sent to the printer automatically.
Last Modified:
Aug 1, 2023 4:07 pm GMT-4
Created:
Mar 14, 2008 2:35 pm GMT-4
by
admin
JumpURL:
