The content of this document may be incorrect or outdated.
Print this article Edit this article
OS X File Backup and Synchronization with Synk
Mac OS X users can utilize file synchronization and backup utilities like Synk to maintain a common copy of a set of files between two computers. This is very helpful to those who use both a desktop and laptop computer. This article is focused on the creation of a synchronization setup between two OS X machines. NOTE: Synk 5 requires OS X 10.3.9 or later.
In this example, we will be setting up a synchronization for a specific directory "Shared Files" that we will use to store files we want to use on both machines. Other people may want to sync their entire home directory; this can be helpful because it also syncs your preferences, email program data, etc. However, synching home directories can cause problems with your OS. If the two machines don't have the exact same version of OS X, and sometimes even if they do, issues can crop up from two copies of OS X trying to maintain a common user account. If this becomes a problem, synching just a specific directory is instead suggested.
The first step is to download Synk. After you have downloaded the program, open it. You will see a message stating that Synk is not registered. Fortunately, academic users are eligible for a "pay what you like" license. When you register, you are allowed to pay what you think Synk is worth. This will need to be determined by the department purchasing the license. Even without the license, however, the software will be fully functional for 30 days.
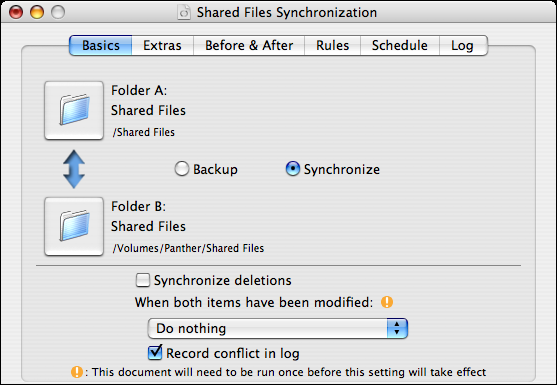
The main window you see represents a "job", whether it be synchronizing a single file or backing up an entire hard drive. Each tab in that window pertains to different settings and rules you can apply. Let's start with the first one, "Basics". Here you select the source and destination (if backing up) or Folder A/B (if synchronizing) directories.
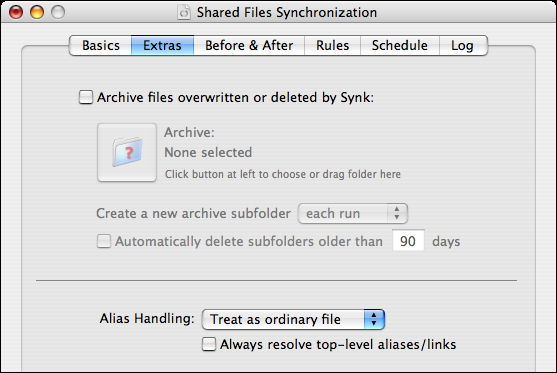
In the second tab, "Extras", you can elect to save a prior copy of a file that changes, and set your alias handling preferences.
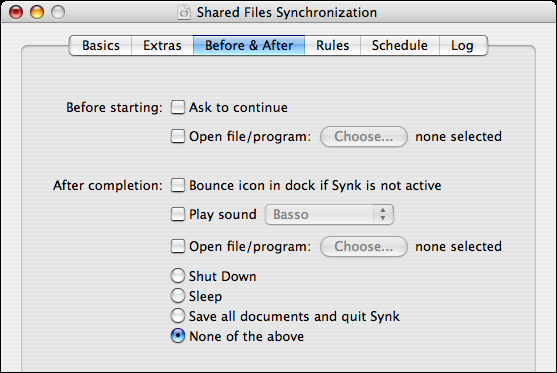
The "Before and After" tab sets preferences for notification and actions before and after the job runs. Most of these will be more useful in conjunction with a schedule, which is set in a later tab.
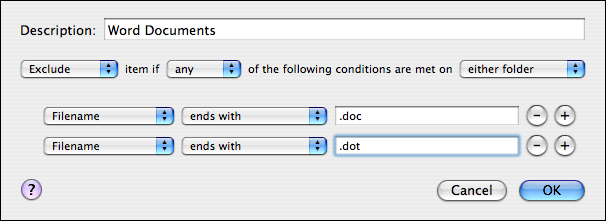
Next, the "Rules" tab allows you to include or exclude files based on basic logic rules. If you've ever set up mail handling rules with Apple's Mail, then this will look very familiar.
The "Schedule" tab is where you can set up a time for the job to automatically run. When you enable scheduling, the program will need to install a tool that will execute the schedule. You can also choose which user to execute the job as. If you are backing up or synchronizing your home directory, then running the job as your username is fine since you own all of that data. If, however, you backup something that does not belong to you (such as certain system files, other home directories, etc.) then those items will not be successfully copied. In this case, you can choose to run the process as an admin user, access to which will have to be authenticated by that user.

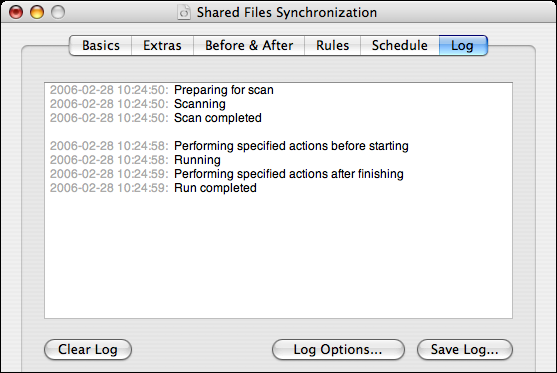
The last tab, "Log", shows the execution log and allows you to set preferences regarding the log.
Once you are satisfied with the preferences, save the job file (File menu > Save or command-S). To get an idea of what will be backed up with the preferences you have set, you can click the "Preview" button in the main window to have Synk do a mock run of the job. You can then change preferences as necessary. It is also important to note that scheduled jobs will not run as long as the program is open. The schedule process will check for Synk, and if it is running, will assume that you are making changes to a job. Make sure that Synk is not running when you intend for the job to run.
Using Synk with a Network Volume
In addition to backing up to a different directory or hard drive, it is also possible to back up or synchronize with Synk to a network mount. When connecting to the desired share with the Finder, select "Remember password in keychain." This will store your authentication for that share. After you are connected, set the destination folder (or Folder B) in Synk to the appropriate directory on the network share. After you save the job settings, you can disconnect the network share. When Synk runs, OS X will automatically mount the share (using your saved authentication) and the backup or synchronization will begin.
There is a related Knowledge Base article pertaining to connecting to ECN shares with SMB/CIFS.
Last Modified:
Aug 1, 2023 4:07 pm GMT-4
Created:
Oct 31, 2007 12:24 pm GMT-4
by
admin
JumpURL:
