The content of this document may be incorrect or outdated.
Print this article Edit this article
Installing a VPS Printer on Windows XP
NOTICE: AS OF 9/12/12 PLEASE HAVE USERS DO THIS:
START->RUN-> \\VPS##\PRINTERNAME
DO NOT LET THEM BROWSE FOR PRINTERS ANYMORE!
The VPS print servers provide shared printing services across the Engineering Computer Network. Some of the Schools of Engineering are implementing page accounting on some of the available printers. (See the list of Virtual Print Servers.)
This document provides instructions for installing the printers using the Materials Science undergraduate (arms2114) and graduate (arms2183) computer labs as an example, but the information is relevant for accessing any VPS printers on which a user has permission to print. Most printers will be restricted to users associated with a specific School of Engineering, or to students taking classes within a School. There are no general use, open printers available to all users.
For help with Mac printing, see the Knowledge base article: Installing a VPS printer on a Mac running Leopard/Snow Leopard
Section 4 of this document contains additional hints for alternative installation methods and notes concerning laptop installations.
Printer Installation Instructions
The following is one method of installing a printer on a Windows-XP lab computer. Note that the printer driver is installed in the user account and makes the printer accessible from any Engineering PC that the user can log into. (We are working out installation procedures for Windows 7, which will be posted here in the near future.)
1. My Computer.
Open a “my Computer” or “My Documents” window.
2. The Address field
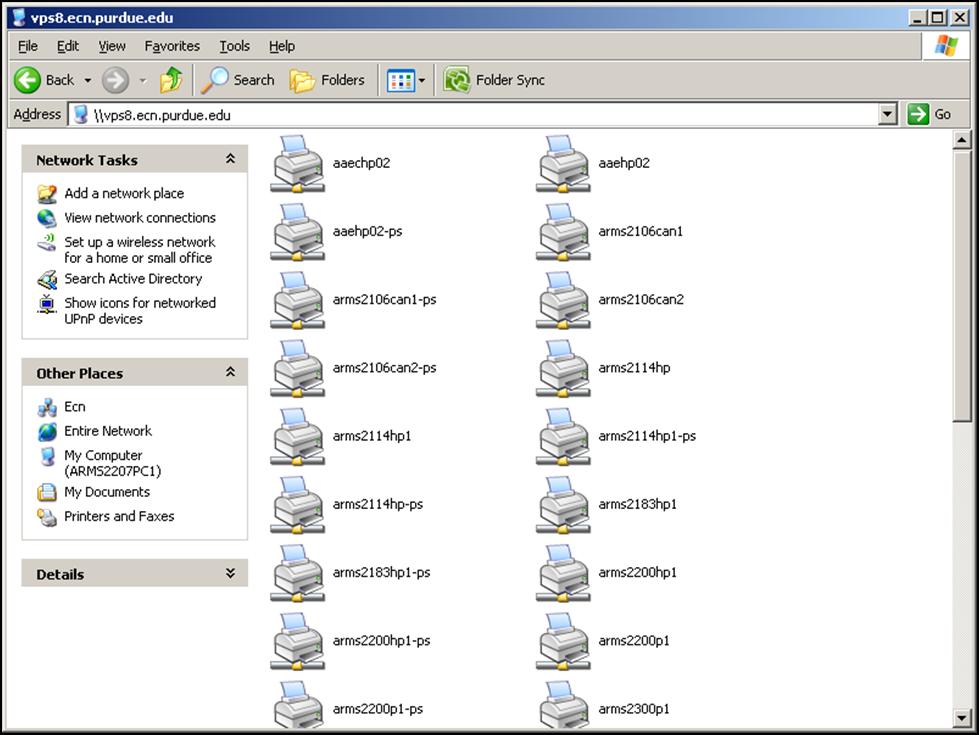
In the address field, type the following: \\vps8.ecn.purdue.edu (reference the list above for the print server for your school)
Then press the Enter key and the available printers are displayed.

3. Install Printer.
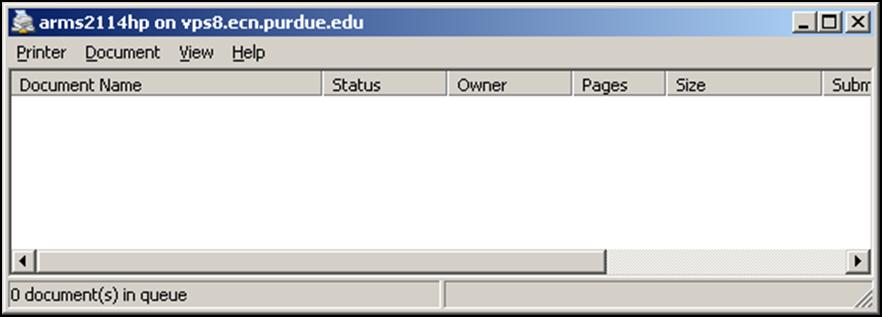
In the Print Server window, double-click on the appropriate printer, and the print drivers will automatically install. A connection to the printer will open showing the print queue.

To verify that the printer is installed, Select Start -> Settings -> Printers and faxes, which opens a window showing the printers currently installed in the user profile. To make the printer your default printer, right-click on that printer's icon and select "Set as Default Printer." A check-mark will appear on that icon.
4. Permissions and other installation methods.
If you are using a laptop, or non-domain computer, where you do not log in using your Purdue account, you may still be able to install a printer by providing your login name and password. When prompted to do so, enter your credentials by preceding your account name with ECN\ For example, user "engineer" would enter the name as ECN\engineer
Printers can also be installed with the “Add a printer” task by selecting
“A network printer, or printer attached to another computer”
“Connect to this printer (or to browse for a printer and click Next)
The following example is for Materials Engineering users, but demonstrate the procedure...
In the Name box, enter \\vps8.ecn.purdue.edu\arms2114hp for the undergraduate lab
printer or \\vps8.ecn.purdue.edu\arms2183hp1 for the graduate lab printer.
These instructions and names install PCL print drivers. To install postscript print drivers
for the printer you want to use, select printername-ps from the list of available printers.
(i.e. arms2114hp-ps or arms2183hp1-ps)
Last Modified:
Apr 18, 2023 3:55 pm GMT-4
Created:
Aug 13, 2009 12:12 pm GMT-4
by
admin
JumpURL:
