Texturing
A general 3D model is defined by a number of points (called vertices) and lines (called edges) between the vertices. With enough vertices you can represent any surface. However, the colors, surface texture, surface appearance (like being wet, or having old flaked paint) is not represented in the 3D model (vertices and edges). The surface appearance of the 3D model is created by adding textures to the model. In the simplest case, the texture is a single color. For example, a blue ceramic coffee cup, a red coffee cup, or a white coffee cup really only needs color information applied to the 3D model. On the other hand a rusty sign post with some flaking and worn out paint would require a lot more surface information to make the item look realistic. Creating textures is the art of creating a surface appearance that turns a generic 3D model into a believable, real looking object.
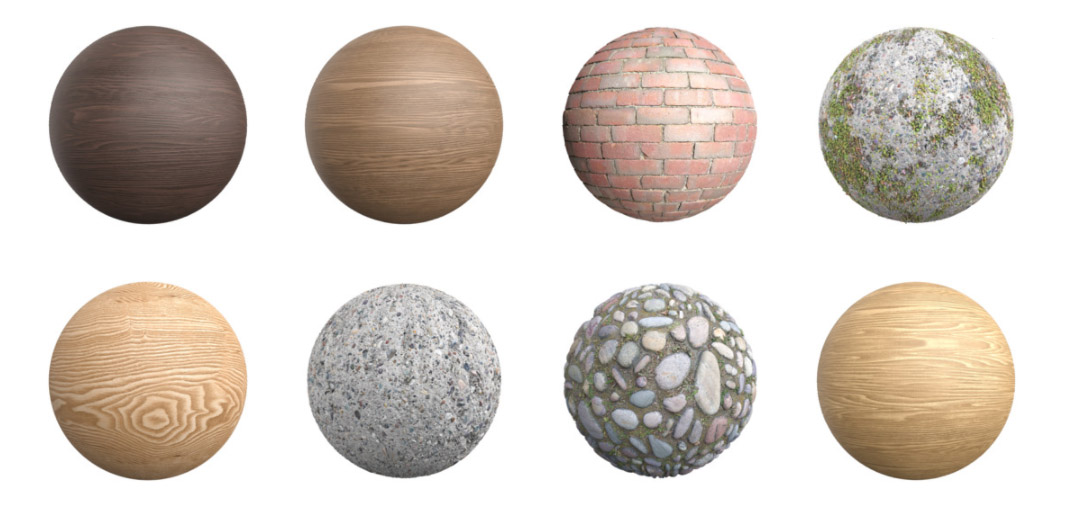
Here is an example of how the texture can change an object. Textures available from cc0 Textures are applied to the same 3D sphere. You can see how applying the right texture can make a simple 3D model into something much more complicated and sophisticated. By using textures, we can change the same simple 3D plane into a table top, a brick wall, a paneled ceiling, a tile floor, a dirt path, or a concrete sidewalk.
While you can download textures from websites (like cc0 Textures) it is more common that you will need to make your own textures. While applying a texture is similar to painting the object, it is usually a little more involved than simply brushing over your 3D model, especially when you start considering optimization.
The first step in creating a texture is to apply texture coordinates to the 3D model. This is usually done in the 3D modeling software used to create (or alter) the 3D model. Each face on the 3D model (see modeling if you don't know what a face is) is assigned UV coordinates. By exporting the UV coordinates you can create a template to start painting the texture on. The UV coordinates tells the 3D program how the flat texture should be applied to the model. The picture below shows a low-poly model, the UV texture template, a (very basic) texture created by coloring over the template is specific regions, and the texture applied to the model.

Of course textures are not limited to color. They can include many aspects of the surface for example how rough or shiny the surface is, if the surface is transparent or translucent, or if there are small features such as panel grooves or etched in designs. A full texture can include many channels of information that is composited together to create the final effect.
Free Software
Texturing capability is usually included in 3D modeling software such as the free Blender, but any image manipulation program is able to create textures. GIMP which is GNU Image Manipulation Program is a free software that has many of the capabilities of Adobe Photoshop
Accessible Software
Adobe Photoshop is available to IUPUI students through IUware and is the industry standard for image manipulation. It has the capability to import 3D models and create textures by painting directly on the model.
Advanced Software
While they are not free, there are programs specifically made for creating textures for 3D models, for example Substance Painter or Mari. This type of software has many other capabilities that are not available in Photoshop and make very difficult texturing processes very easy to do.