Huffman 5: write bits to a file
Learning goals
You should learn:
- Practice using linked lists and trees.
- Combining linked lists with trees
- Learning objectives: structures and dynamic structures
Overview
This is part 5 in an 8-part series in which you are implementing the Huffman Coding algorithm to compress files.
- huffman_1: Implement priority queue for future use
- HW16: Calculate character frequencies from a file
- HW17: Create a priority queue of trees from the character frequencies in a file.
- HW18: Build a single Huffman tree.
- HW19: Implement functions to write arbitrary bits to a file, for future use. ◀◀◀ this homework
- HW20: Write the Huffman Tree to the disk.
- HW21: Write the encoded file contents to the disk.
- huffman_8: Create a command-line interface for compressing files.
In this homework, you will create a reusable module for writing sequences of bits to binary files. In HW20, you will use this to write your Huffman tree to a file. Then, in HW21, you will use it to write the encoded data to a file.
It is important that you understand all six bitwise operators. They are in your reference sheet. If you did not understand after watching the relevant lecture(s), the warmup will guide your thinking. If you feel you understand well enough already, feel free to opt out. (We know time is short.)
Example
Let's understand how this works through an example.
The following code writes three bytes to a file, but does so in
smaller chunks of a few bits at a time. When
write_bits(…)
is called, a byte may or may not be written directly to a file.
We hold some bits in memory and keep them until either
ⓐ we have a full byte to write, or
ⓑ the file is being closed and we need to flush the remaining
bytes.
int main(int argc, char* argv[]) {
    BitWriter writer = open_bit_writer("new_file.bits");
    write_bits(&writer, 0x05, 3);  // 0x05 ↔ 00000101₂ ⋯ writes just 101₂
    write_bits(&writer, 0xf3, 3);  // 0xf3 ↔ 11110011₂ ⋯ writes just 011₂
    write_bits(&writer, 0x01, 2);  // 0x01 ↔ 00000001₂ ⋯ writes just 01₂
    write_bits(&writer, 0x20, 6);  // 0x20 ↔ 00100000₂ ⋯ writes just 100000₂
    write_bits(&writer, 0x13, 5);  // 0x13 ↔ 00010011₂ ⋯ writes just 10011₂
    close_bit_writer(&writer);
    return EXIT_SUCCESS;
}
-
First, we create the
BitWriterobject by callingopen_bit_writer(…).BitWriter writer = open_bit_writer("new_file.bits");
file contents: (empty) .current_byte:00000000₂.num_bits_left:8 -
We “write” 3 bits:
101₂.write_bits(&writer, 0x05, 3); // 0x05 ↔ 00000101₂ ⋯ writes just 101₂
This doesn't actually write anything to the file. Those bits are written to thefile contents: (empty) .current_byte:10100000₂.num_bits_left:5.current_bytefield, so that when additional bits are “written”, they can be combined before that byte is written to the file. -
We “write” 3 more bits:
011₂.write_bits(&writer, 0xf3, 3); // 0xf3 ↔ 11110011₂ ⋯ writes just 011₂
Notice that although we passedfile contents: (empty) .current_byte:10101100₂.num_bits_left:211110011₂(0xf3) towrite_bits(…), only the least significant (rightmost) 3 bits had any effect. The most significant (leftmost) 5 bits were not zero, but they were nonetheless ignored. -
We “write” 2 more bits:
01₂.Initially, those two bits are added towrite_bits(&writer, 0x01, 2); // 0x01 ↔ 00000001₂ ⋯ writes just 01₂
.current_byteand we subtract 2 from.num_bits_leftleaving the state like this:
Beforefile contents: (empty) .current_byte:10101101₂.num_bits_left:0write_bits(…)returns, it checks if.current_byteis full (i.e.,num_bits_left==0). Since it is indeed full, that byte is written to the file, and.current_byteand.num_bits_leftare reset.file contents: 10101101₂ .current_byte:00000000₂.num_bits_left:8Finally, we have actually “written” something to the file.
-
We write 6 bits:
100000write_bits(&writer, 0x20, 6); // 0x20 ↔ 00100000₂ ⋯ writes just 100000₂
file contents: 10101101₂ .current_byte:10000000₂.num_bits_left:2 -
We write 5 bits:
10011There isn't enough room inwrite_bits(&writer, 0x13, 5); // 0x13 ↔ 00010011₂ ⋯ writes just 10011₂
.current_bytefor all five bytes so they will have to straddle the current byte and the next byte. Since.num_bits_leftis 2, we write the first two bits (i.e.,10₂) to.current_byte. It is now full:
Since it is full, we writefile contents: 10101101₂ .current_byte:10000010₂.num_bits_left:0.current_byteto the file and reset.current_byteto 0 and.num_bits_leftto 8, just like before.
We write the remaining 3 bits of 0x13 (file contents: 10101101₂ 10000010₂ .current_byte:00000000₂.num_bits_left:800010011₂to.current_byte. We set.num_bits_leftto 5 (=8−3).file contents: 10101101₂ 10000010₂ .current_byte:01100000₂.num_bits_left:5 -
We are finished and ready to close the file.
This will “flush” the remaining bits in
close_bit_writer(&writer);.current_byteto the file. Any unused bits are filled with zeros (0). Theclose_bit_writer(…)function resets.current_byteto 0,.num_bits_leftto 8, and sets.filetoNULL, as a signal that this object is closed. That also prevents the caller from trying to use it.file contents: 10101101₂ 10000010₂ 01100000₂ .current_byte:00000000₂₂.num_bits_left:8
Getting Started
This homework will not use or interact with any of the files from the earlier Huffman homeworks.
-
Run
264get HW19to fetch the starter code.We have provided a skeleton file (bit_writer.c) and a header file (bit_writer.h) to save you time.
You will also find a warmup.c and two other files (print_bits.o and print_bits.h). See the Q&A for more details.
- Change into your newly created HW19 directory.
you@ecegrid-thin1 ~
$
cd hw19 -
Copy in your Makefile, log_macros.h, and miniunit.h from HW18 (or any other homework).
you@ecegrid-thin1 ~/hw19
$
cp ../hw18/{Makefile,log_macros.h,miniunit.h} -t ./ -
Update your Makefile.
you@ecegrid-thin1 ~/hw19
$
vim Makefile- Set
ASG_NICKNAMEtoHW19. - Set
SRC_Ctobit_writer.candTEST_Ctotest_bit_writer.c. - Set
SRC_Htobit_writer.h miniunit.h log_macros.h. - Ensure that your
submitrule includes warmup.c. Altogether, it should have the following:$(SRC_C) $(SRC_H) $(TEST_C) Makefile warmup.c
- Set
-
Edit bit_writer.c.
Add assertions (
you@ecegrid-thin1 ~/hw19
$
vim bit_writer.cassert(…)) at the top/bottom ofwrite_bits(…)to verify and document that:-
On entry (top),
num_bits_to_write∈ [0, 8] and.num_bits_left∈ [1, 8]. -
On exit (bottom),
.num_bits_left∈ [1, 8].
Those conditions should always be true. Otherwise, you most certainly have a bug somewhere.
If any of these conditions is not met, your program will exit and give you an error message telling you exactly where the problem is. That's a lot better than spending hours trying to trace why the output wasn't correct!
An inappropriate value for
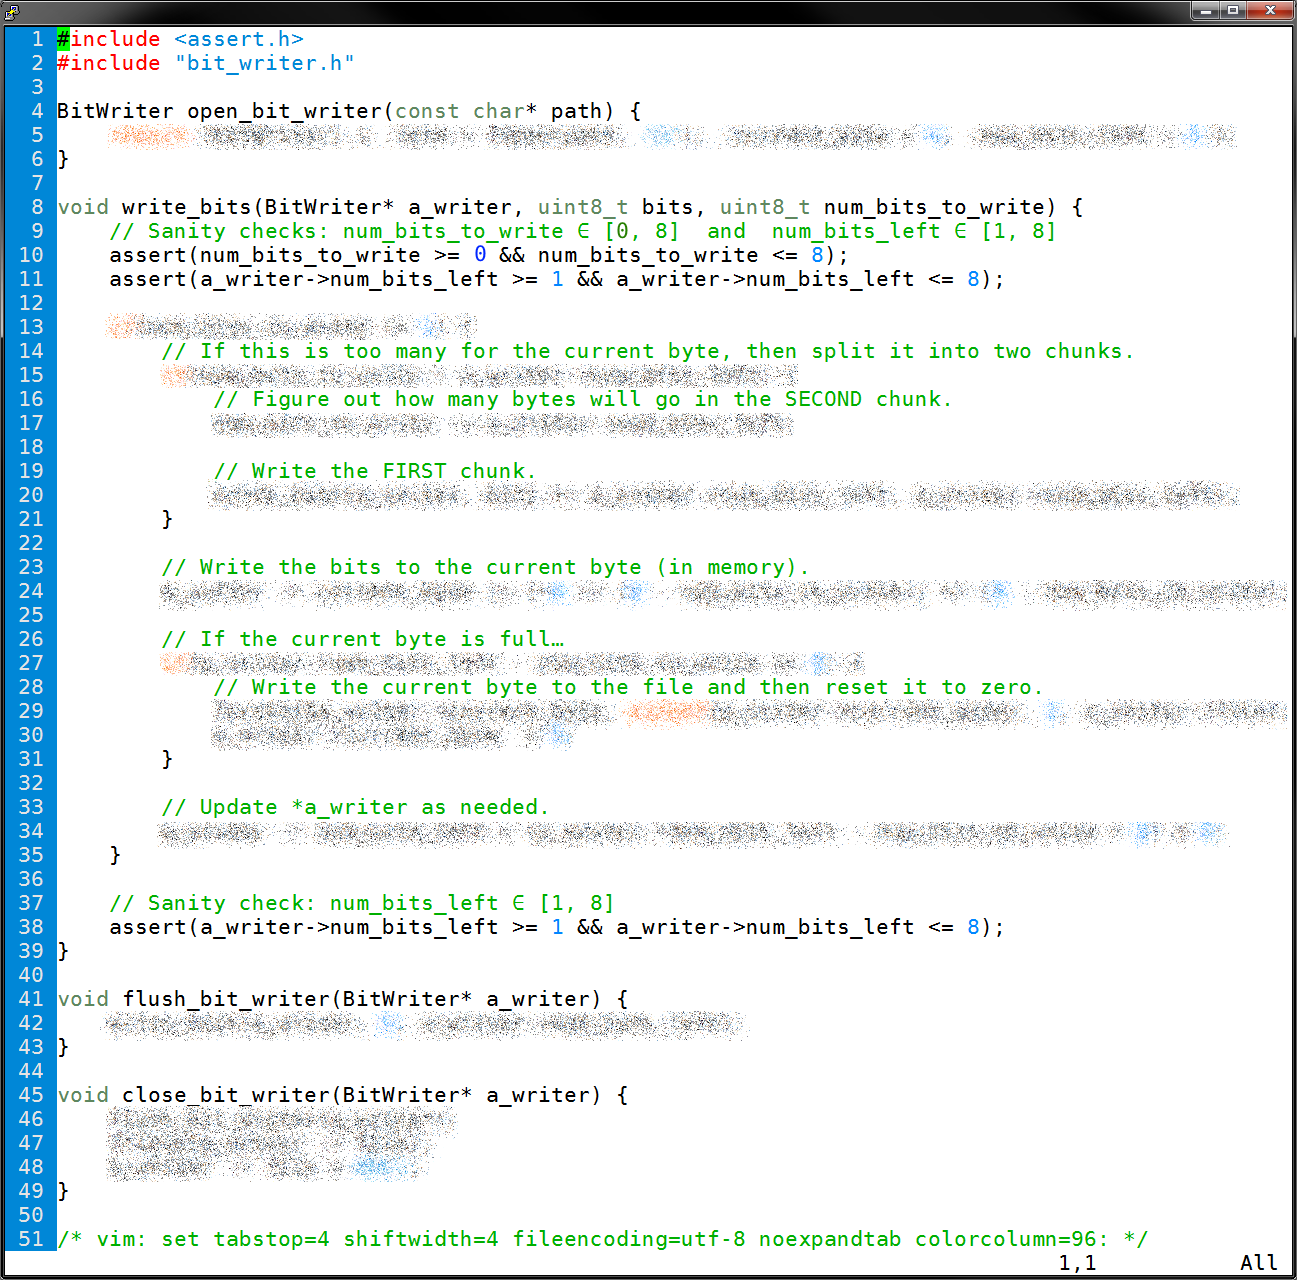
num_bits_to_writecould be due to a bug in your test code. Normally, we don't useassert(…)to check inputs, but in this case, the inputs are coming from your code—and this will help you avoid a lot of headaches that might happen without it.These assertions are included in screenshot in the Q&A. Feel free to copy/adapt from that screenshot—but only if you understand.
-
On entry (top),
Warm-up exercises
This assignment includes a warm-up exercise to help you get ready. This accounts for 10% of your score for HW19. Scoring will be relatively light, but the usual base requirements apply.
In the starter files, you will find a file called warmup.c. All details for the warmup are in that file.
Opt out.
In a hurry, and don't need the practice? This warm-up is here to help you learn what you need to succeed on the rest of this assignment—not to add additional work. Therefore, we give you an option. Those who feel that they do not need the practice may "opt out". by modifying warmup.c so that it does nothing but print the following message exactly and then exit:
I already know this and do not need to practice.
If you do that, then your score for HW19 will be based solely on the rest of this assignment. If you leave the warmup.c undone, if you do not turn in a warmup.c, or if the message it prints does not match perfectly, then you will receive 0 for the warmup portion of this assignment (10%).
Requirements
- Your submission must contain each of the following files, as specified:
file contents bit_writer.c functions open bit writer(const char✶ path)→ return type: BitWriterCreate aBitWriterobject.-
Open a file for writing at
pathand assign it to the.filefield. -
Initialize the
.current_bytefield to 0. -
Initialize the
.num_bits_leftfield to 8. - Use a compound literal.
- The body of this function should be only 1 sloc.
- Seriously… this should be nothing more than a single return statement. Don't make it hard.
- ⚠ Do not call
malloc(…). - Return the newly created
BitWriterobject.
write bits(BitWriter✶ a writer, uint8 t bits, uint8 t num bits to write)→ return type: void“Write” the least significant (right)num_bits_to_writebits frombits.a_writeris the address of aBitWriterobject, the.filefield of which is a file already opened for writing..num_bits_leftmust be ∈ [1, 8] when entering and exitingwrite_bits(…).num_bits_to_writemust be ∈ [0, 8].-
If
.current_bytehas enough room (i.e.,num_bits_to_writeis ≤.num_bits_left), then write them to.current_byte, starting with the MSB (left) side.-
If writing the bits to
.current_bytefills.current_byte, then write that byte to the file (and reset.num_bits_leftand.current_byte) so that next timewrite_bits(…)is called, it will have room to store more bits. - This is illustrated in example (part 2) .
-
If writing the bits to
-
If there is not enough room in
.current_byte, then write as many as there is room for. Then, write the.current_byteto the file, reset.current_byteto zero. Finally, write the remaining bits frombitsto.current_byte, starting with the MSB (left) side.- This is illustrated in example (part 6) .
-
Ignore all but the
num_bits_to_writeleast significant bits inbits. In other words, you should not assume the rest of the byte (bits) will be all zeros.- This is illustrated in example (part 3) .
-
Update
.num_bits_leftwith the number of unused bits remaining in.current_byte. -
⚠ Do not use any loops, arrays, switch statements,
malloc(…), or addresses (excepta_writer).- If you understand bitwise operations, you shouldn't need or want any of that. If not, make sure you have attended (or watched attentively) the relevant lecture and done the warm-up.
flush bit writer(BitWriter✶ a writer)→ return type: voidWrite the current byte (a_writer -> current_byte) to the file.- If there are no bits waiting to be written to the file (i.e., if
.num_bits_left == 8) then do not write anything to the file. - Reset the
.current_bytefield to 0. - Reset the
.num_bits_leftfield to 8. - Any unused bits should be filled with 0's on the least significant (right) side.
- This is the same thing that happens when you call
close_bit_writer(…), except that the file (.file) is not closed.
close bit writer(BitWriter✶ a writer)→ return type: voidClose the givenBitWriterand reset its fields.-
Call
flush_bit_writer(…)to write the current byte to the file. - Close the file.
- Set
.filetoNULL. - This is illustated in the example (part 7) .
test_bit_writer.c functions main(int argc, char✶ argv[])→ return type: int- 100% code coverage is required for bit_writer.c.
- Use your miniunit.h.
bit_writer.h ⋯ ⚠ Do not modify. warmup.c ⋯ Functions are specified in the comments, in warmup.c. miniunit.h ⋯ as usuallog_macros.h ⋯ as usualMakefile ⋯ as usual -
Open a file for writing at
- When the final byte is written, any unused bits should be filled with 0's on the least significant (right) side.
- ⚠ Do not call any file operations anywhere within your bit_writer.c, except as specified below. These restrictions are for your protection.
-
The following external header files, functions, and symbols are
allowed.
“*” means anywhere (i.e., any file) or anything (i.e., any function, constant, type, etc.). All others are prohibited unless approved by the instructor. Feel free to ask.header functions/symbols allowed in… stdbool.h bool,true,false*stdio.h printf,fprintf,fputs,fputc,stdout,fflushbit_writer.c,test_bit_writer.c,warmup.cstdio.h fopen,fclose,fputcbit_writer.cstdio.h fopen,fclose,fputc,fseek,ftell,fgetc,fread,fwritetest_bit_writer.cassert.h assert*stdlib.h EXIT_SUCCESS,size_tbit_writer.c,test_bit_writer.cstdint.h uint8_tbit_writer.c,test_bit_writer.cstring.h *warmup.c,test_bit_writer.cminiunit.h *test_bit_writer.clog_macros.h *bit_writer.c,test_bit_writer.c,warmup.c-
fopen(…)may be called once inopen_bit_writer(…), and nowhere else. -
fclose(…)may be called once inclose_bit_writer(…), and nowhere else. -
fputc(…)may be called once inwrite_bits(…)orflush_bit_writer(…)—but not both—and nowhere else.
-
- ⚠ Do not use any loops anywhere in bit_writer.c.
- Submissions must meet the code quality standards and other course policies on homework.
Submit
To submit HW19 from within your hw19 directory, type
make submit
That should result in the following command:
264submit HW19 bit_writer.c bit_writer.h test_bit_writer.c warmup.c miniunit.h log_macros.h Makefile
Pre-tester ●
The pre-tester for HW19 has been released and is ready to use.
Q&A
How much work is this?
The instructor's solution comprises 30 sloc. However, 10 lines of that is given to you in the form of the skeleton file. Thus, you need to write ≥20 sloc.
If you joined or viewed the relevant lecture(s), and followed them then you can probably skip the warm-up. In that case, I would estimate this to be ≈2 hours of work. However, if you skipped them, skimmed, or didn't pay proper attention, then you will almost certainly need to go back and watch them, and/or do the warm-up. Searching for posts on Stackoverflow isn't going to help you much. (That said, if you do find any great resources, please share them on Piazza!)
For those who are still rusty, the warm-up walks you through each of the 6 bitwise operators:
^ << >> & | ~. (They are also summarized on the reference sheet, but you need to internalize how they are used.The warmup will require writing exactly 14 sloc. There are 11 functions that must be implemented in exactly one statement. One more function must be implemented by adding exactly three statements.
In light of the short timeframe, we are also giving you a few “extras”, to keep you on the right track so you don't burn too much time on this.
- The warm-up was not originally planned. You can opt out if you don't need it.
- The skeleton code and header file help you avoid some typing, and also avoid snafus related to mistyping.
- We are providing an annotated solution screenshot below, to give you an outline of one particular solution. See the next Q&A item.
I think I understand bitwise, but how do I start?
First, do the Getting Started above. Don't skip the part about the assertions.Next, you may want to read through the annotated screenshot below. You don't have to follow this, but you may if you wish.
Keep in mind: There are a number of alternative approaches to some small parts of this that would be equally good. However, this may help you think about the problem.
👌 You may copy/adapt anything in this screenshot. (That basically means the assertions.)
How am I supposed to convert all of these binary bits to hexadecimal in my head?
It's not as hard as it looks at first. Each 4 bits is a “nibble”, and is represented by one hex digit. There are only 16 hex digits.decimal binary hex 0 0000₂ 0 1 0001₂ 1 2 0010₂ 2 3 0011₂ 3 4 0100₂ 4 5 0101₂ 5 6 0110₂ 6 7 0111₂ 7 8 1000₂ 8 9 1001₂ 9 10 1010₂ a 11 1011₂ b 12 1100₂ c 13 1101₂ d 14 1110₂ e So if you see
00111001₂, break it into two nibbles:0011₂and1001₂. Even if you don't remember the table above, it's not hard to interpret a 4-digit binary number in your head. Just remember the places are 1, 2, 4, and 8 (right-to-left). For the first nibble, you have 1 + 2 = 3. In hex, that is 0x3 (easy!). For the second nibble, you have 1 + 8. In hex that is 0x9 (also easy!). Putting those two nibbles together, you get 0x39.If you get
1111₂, that's a good one to remember; it'sf.From there,
1110₂is just one less, so it'se.That leaves
1010₂(a),1011₂(b),1100₂(c), and1101₂(d). For those ones, you might need to count the letters on your fingers or something, but with a little practice, this will quickly become second nature.Is there a way to write individual bits to a file?
No. All of the functions for writing to files deal with whole bytes at a time.What are the files print_bits.c and print_bits.h?
They contain some functions for printing bits to the terminal that help you see if your warmup is correct.Why does print_bits.o end with .o?
It is an object file. (This was covered in HW07) and the related lecture, but you can be forgiven if you forgot. An object file contains compiled functions, but is not executable on its own. When compiling another program, you can link in the object file to gain access to its functions. This is much simpler than it sounds. When you call gcc, simply add print_bits.o to the command. For example, when you compile warmup.c, you use this command:gcc -o warmup warmup.c print_bits.oWhy didn't you just give us the .c file?
One of the functions in print_bits.c/print_bits.o is essentially the same as the one you need to write at the end of the warmup. We didn't want to give it away. However, having that function makes the earlier ones easier since you can see what you're doing.May I use the
Yes. Simply add print_bits.o to the end of each of yourprint_bits_color(…)and/orprint_bits_plain(…)functions in my test_bit_writer.c?gcccommands in your Makefile. Treat it as if it were a .c file.How can I see what's inside an object (.o) file?
Theobjdumpcommand can be useful. Google it.That sounds complicated. How can I see what functions are available and how to use them?
See the header file (print_bits.h). Header files often (but not always) serve as a sort of documentation.Why bother setting
It just seemed like a good way to tidy up the object. This way, when debugging or testing, it will be crystal clear which one is closed..current_byteto 0 and.num_bits_leftto 8 inclose_bit_writer(…)?What do I fill in for any bits that haven't been written?
Fill in 0's on the LSB (right) side.How can I check the contents of a file in my tests?
You may wish to create a helper function. You may copy/adapt the declaration below, if you like.static bool _check_file_contents(char const* path, size_t num_bytes, uint8_t const* bytes) { ▒▒▒ } static int _test_check_▒▒▒() { mu_start(); //──────────────────── ▒▒▒ _check_file_contents(path, 5, (uint8_t[]) { 0x5d, 0xc3, 0x00, 0x19 }); ▒▒▒ //──────────────────── mu_end(); }You will need to add more details to the starter above. Use only if you understand.
Updates
| 11/22/2022 |
|